Creating professional-quality Easter eggs is not about a recipe, but about mastering the science of chocolate and the psychology of delight.
- Perfect shine comes from precise temperature control to form specific Beta-V crystals, not just from polishing molds.
- Preventing cracks is a game of managing thermal shock; slow, controlled cooling is more important than refrigeration speed.
- The joy of an Easter egg is a “sensory trio”: the sound of the rattle, the texture of the filling, and the visual surprise.
Recommendation: Focus first on mastering temperature control with a good thermometer. This single skill unlocks shell integrity, shine, and the perfect ‘snap’ when unmolding.
That magical moment on Easter morning—the crack of a chocolate shell revealing a hidden treasure—is a joy we all cherish. For a creative parent or passionate home cook, the desire to recreate that magic yourself is strong. You’ve probably seen the simple guides: melt chocolate, pour, and refrigerate. Yet, the results are often disappointing: dull finishes, cracked shells, and a look that screams “homemade” in all the wrong ways. You want to craft something that looks like it came from a high-end chocolatier’s window, something that makes your family’s eyes widen with awe.
The common advice to “use good chocolate” or “be careful” is true but incomplete. It misses the fundamental principles that separate an amateur attempt from a professional creation. The secret doesn’t lie in an expensive machine or an exotic ingredient. It lies in understanding the ‘why’ behind the ‘how’. It’s about embracing a little bit of science and a touch of psychology. This isn’t just about melting and molding; it’s about chocolate crystallography, thermal shock management, and crafting a sensory experience.
This guide will take you beyond the recipe and into the mind of a chocolatier. We will deconstruct the entire process, from understanding the very tradition of Easter eggs to mastering the technical finesse required for a mirror-like shine. We’ll explore how to create a perfectly even shell, what truly delights children in a filling, and how to plan a large-batch production in your own kitchen without the chaos. Forget the frustration of past attempts. It’s time to learn the techniques that will give you flawless, professional-looking Easter eggs every single time.
This article provides a complete roadmap to elevating your Easter creations. Follow along as we cover every step, from the historical context that gives these treats their meaning to the final, satisfying tap that releases a perfect chocolate bonbon from its mold.
Summary: Your Path to Perfect Chocolate Easter Eggs
- Why Are Eggs and Rabbits Associated with Chocolate Traditions?
- How to Ensure an Even Shell Thickness for Large Eggs?
- Praline Fritures vs. Small Toys: Which Filling Delights Kids More?
- The Cooling Mistake That Cracks Your Egg Before It Opens
- How to Schedule Making 50 Eggs in a Home Kitchen?
- How to Achieve Mirror-Like Shine on Your Molded Bonbons?
- Why Do Heart-Shaped Chocolates Sell 5x Better in February?
- When to Tap the Mold to Release Bonbons Without Force?
Why Are Eggs and Rabbits Associated with Chocolate Traditions?
Before we dive into the technical ‘how,’ let’s start with the joyful ‘why.’ Understanding the symbolism of eggs and rabbits is the first step to creating treats that are not just delicious but also meaningful. These shapes aren’t random; they are a powerful form of symbolic shorthand, rooted in centuries of history celebrating spring, rebirth, and new life. The egg has long been a pagan symbol for fertility and renewal, seamlessly adopted by Christian traditions to represent the resurrection. The Easter Bunny, a descendant of the fabled egg-laying hare, further reinforces these themes of abundance and life.
It was the genius of 19th-century European chocolatiers, however, that transformed these potent symbols into the chocolate forms we know and love today. They recognized that the shape itself carries the emotional weight. This is a key insight brilliantly leveraged by companies across the confectionery world.
Case Study: Cadbury’s Strategic Transformation of Easter Symbols
Cadbury revolutionized Easter traditions by transforming these folk symbols into a mass-market phenomenon. By linking rich, desirable chocolate directly to the celebration, they didn’t just sell a product; they created a seasonal ritual. This strategy cemented the connection in the public’s mind, generating a predictable, high-stakes demand for chocolate eggs and bunnies each spring, a tradition that fuels the desire for even homemade professional versions today.
So, when you choose to make a chocolate egg, you’re tapping into a deep cultural current. You’re not just making candy; you’re crafting an icon of joy and renewal. As one expert puts it, the shape is inseparable from the message, a concept that empowers your creation far beyond its ingredients.
The egg shape itself is part of the message – it’s a powerful symbol for rebirth and surprise that transcends language and culture.
– Jamie Oliver, Jamie Oliver Easter Chocolate Guide
How to Ensure an Even Shell Thickness for Large Eggs?
Nothing is more disappointing than an Easter egg that shatters unevenly or has a gaping hole on one side. Achieving a consistent, structurally sound shell, especially for larger eggs, is a foundational skill. It’s not about luck; it’s about controlling the viscosity of your chocolate. Viscosity, or the thickness and flow of your melted chocolate, is almost entirely dictated by temperature. For this, a reliable digital thermometer is your single most important tool. You’re not just melting chocolate; you’re aiming for a precise working temperature that gives it the perfect consistency to coat the mold evenly without being too thick or too runny.
For home chocolatiers, two primary methods exist for building the shell: the “Slush Method” and the “Double-Coating Method.” Each has its place, and choosing the right one depends on your goal. Temperature control is paramount for both. For instance, temperature control studies reveal that maintaining dark chocolate at 30-31°C provides the ideal coating viscosity for detailed work, allowing it to flow into every crevice of the mold while still being substantial enough to build a layer.
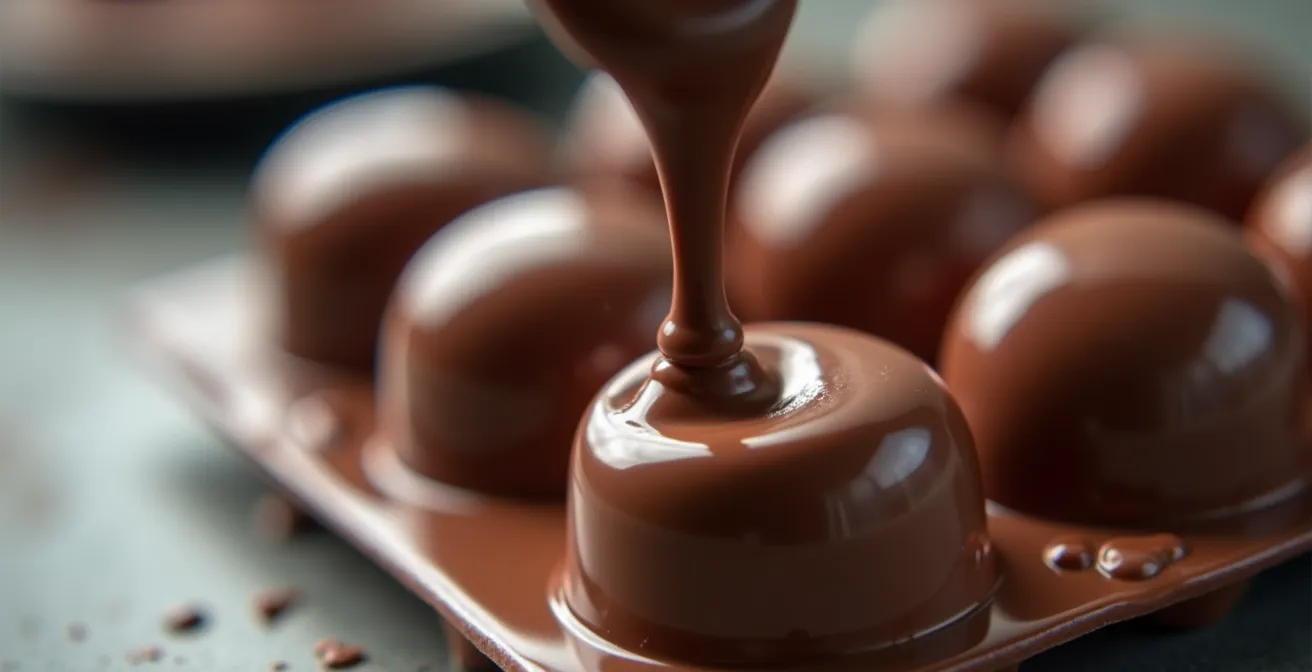
The Slush Method is faster for batches. You fill the mold completely, let a shell set for a few minutes, then pour out the excess. The Double-Coating Method offers more control, especially for large, single-showpiece eggs. Here, you paint a thin layer of chocolate into the mold, let it set, and then paint a second layer to reinforce it. This ensures you cover every spot and can build up thickness in traditionally weaker areas. The choice of couverture chocolate, with its higher cocoa butter content, is also crucial as it provides superior fluidity for these techniques.
This table breaks down the two main techniques for achieving that perfect shell.
| Method | Speed | Control | Best For | Temperature Range |
|---|---|---|---|---|
| Slush Method | Faster for batches | Less precise | Multiple eggs | 28-29°C |
| Double-Coating | Slower | More control | Large single eggs | 30-31°C |
Praline Fritures vs. Small Toys: Which Filling Delights Kids More?
Once you’ve mastered the shell, the magic truly begins. The filling is the heart of the surprise, and what you put inside can make the difference between a simple treat and a cherished memory. The debate between edible fillings like pralines and non-edible ones like small toys isn’t a simple one-or-the-other question. The real secret to delight is understanding your audience and engineering a multi-sensory experience.
For children, the joy is often found in the “sensory trio”: the sound, the texture, and the surprise. The rattle of the filling inside the egg builds anticipation. The crunch of a praline or the discovery of a tiny toy provides a satisfying textural or visual payoff. Research shows that what constitutes the “perfect” surprise is highly age-dependent. A four-year-old might be thrilled by a brightly colored character toy, while a ten-year-old might feel more rewarded by the sophisticated taste of a complex, high-quality praline or a small puzzle.
Therefore, the ultimate filling strategy is often a hybrid approach. It’s about creating an experience of abundance and discovery. You don’t need to fill the entire egg with expensive artisanal pralines to create high perceived value. A smart strategy is to layer different elements to maximize the sensory journey. For example, placing one “hero” item—a beautifully crafted praline or a coveted small toy—as the centerpiece, and then surrounding it with other items that add volume, sound, and texture.
Your Action Plan for a High-Value Filling Strategy
- Place one high-value artisan praline as the centerpiece of the filling.
- Surround it with voluminous but less expensive items like mini marshmallows for a soft contrast.
- Mix in chocolate-coated puffed rice or small malted milk balls for added texture, volume, and rattle.
- Create distinct layers with different textures and colors to enhance the discovery experience upon cracking.
- Use clear food-safe cellophane for inner wrapping to showcase the filling’s abundance before the egg is even sealed.
The Cooling Mistake That Cracks Your Egg Before It Opens
You’ve done everything right: your chocolate is perfectly tempered, the shell is even, and the filling is a work of art. You place your beautiful creation in the fridge to set, only to find a web of cracks when you return. This heartbreaking moment is almost always caused by one critical error: thermal shock. Chocolate is a crystalline solid, and as it cools and hardens, it contracts. If it cools too quickly, different parts of the egg (the thicker top versus the thinner sides, for instance) contract at different rates. This creates immense internal stress that results in fractures.
The common impulse is to put the chocolate in the coldest part of the fridge to speed things up. This is precisely the wrong thing to do. The ideal environment for setting chocolate is a cool, dry place, not a cold, damp one. In fact, crystallization physics research demonstrates that cooling chocolate at 10-15°C (50-59°F) prevents the stress fractures caused by this differential contraction. This temperature is warmer than a standard refrigerator but cooler than room temperature, a ‘cool room’ environment.
Another silent saboteur is condensation. When a cold egg is brought into a warmer, more humid room, microscopic water droplets form on its surface. This moisture can dissolve sugar in the chocolate, which then recrystallizes on the surface as a dull, white film known as sugar bloom, ruining your hard-earned shine. Professional chocolatiers have a simple but effective technique to prevent this. They allow the set eggs to acclimatize to room temperature for 20-30 minutes while still in their molds before handling. This gradual transition prevents the abrupt temperature change that causes condensation, preserving the flawless, glossy finish you worked so hard to achieve.
How to Schedule Making 50 Eggs in a Home Kitchen?
Making one or two Easter eggs is a pleasant afternoon project. Making fifty requires a completely different mindset: you need a production workflow. Trying to do it all in one day is a recipe for chaos, mess, and exhaustion. The key to successfully scaling up in a home kitchen is breaking the process down into manageable stages spread across several days. This approach minimizes stress, ensures you have enough space (especially in your fridge), and allows you to focus on quality at each step.
A professional chocolatier doesn’t just “start making chocolate.” They begin with ‘mise en place’—a French term for getting everything set up and in its right place. This means polishing every mold, portioning out all your fillings, and clearing dedicated shelf space in a cool, dry spot (and your fridge) before you even melt the first chip of chocolate. This preparation day is non-negotiable for a large batch.
One of the biggest challenges in a multi-hour production is keeping your chocolate in temper. This is where the Tempering Relay Technique comes in. Rather than tempering one massive bowl that will inevitably cool and thicken, you work in smaller, manageable batches. You can use a heating pad on a low setting under your bowl or a precision sous-vide water bath to maintain the working temperature. Periodically re-introducing a small amount of solid, tempered “seed” chocolate helps maintain the stable crystal structure for hours. This gives you a continuous supply of perfectly fluid chocolate without having to constantly stop and re-temper.
Here is a sample workflow that turns a monumental task into a structured, achievable plan.
| Day | Task | Time Required | Key Activities |
|---|---|---|---|
| Day 1 | Mise en Place | 2-3 hours | Polish molds, portion fillings, clear fridge |
| Day 2 | Shell Production | 4-5 hours | Temper chocolate, create 100 halves |
| Day 3 | Assembly | 3-4 hours | Fill shells, seal halves, store |
| Day 4 | Decoration | 2-3 hours | Final touches, packaging |
Homemade chocolate eggs can be stored in a cool, dry place away from direct sunlight for several weeks, so this schedule allows you to be well-prepared ahead of the Easter rush.
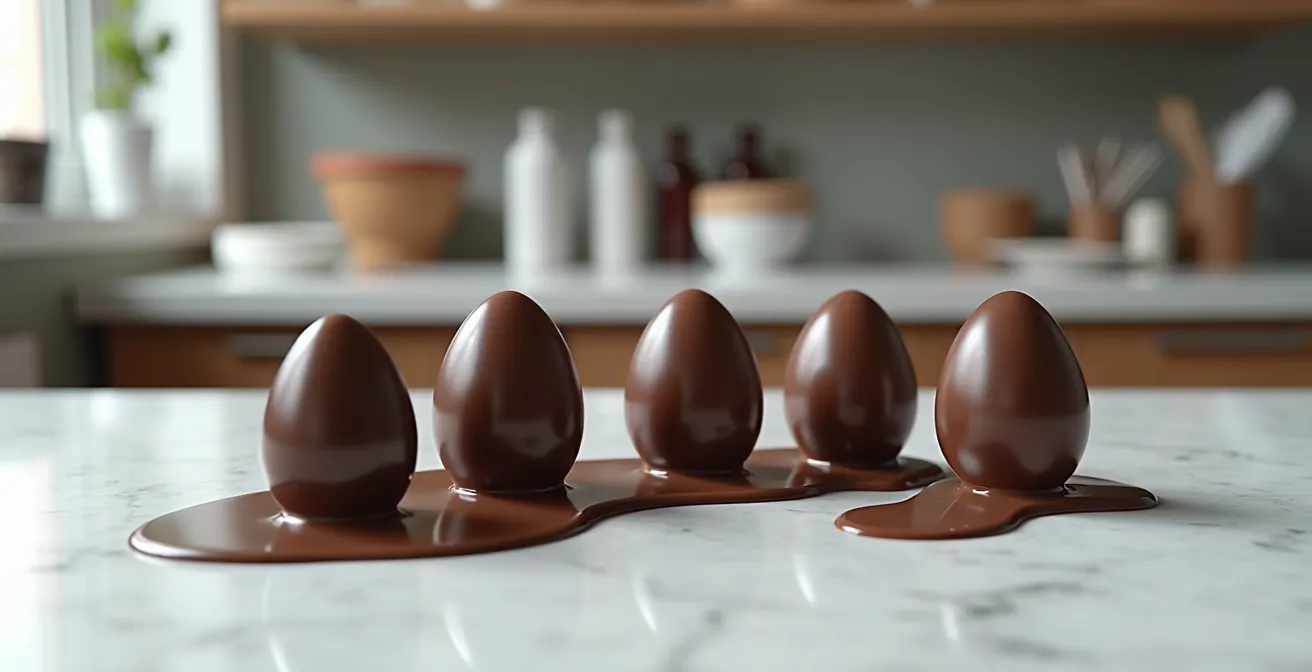
How to Achieve Mirror-Like Shine on Your Molded Bonbons?
The hallmark of a truly professional chocolate is its flawless, mirror-like shine. This isn’t just a cosmetic touch; it’s the visible proof of a perfect temper. That brilliant gloss comes from the dense, stable structure of Beta-V crystals in the cocoa butter. When chocolate is tempered correctly, these tiny, uniform crystals form a perfectly smooth surface that reflects light like a mirror. It’s a process of pure chocolate crystallography, and your control over temperature is what makes it happen.
While tempering is the cause, the effect is only visible if the canvas is perfect. The surface of your mold must be immaculately clean. Any microscopic residue of fat, dust, or even a fingerprint will interrupt the crystal formation and create a dull spot. This is why chocolatiers are obsessive about polishing their molds. The goal is a surface so clean it “squeaks” when rubbed with cotton wool. Using a bit of food-grade alcohol on a cotton pad can help remove any stubborn fat residues that water alone can’t lift.
The science behind the shine is fascinating. As your tempered chocolate cools and sets against the pristine mold surface, the Beta-V crystals pack together tightly. The final gloss is a direct result of this molecular perfection. In fact, recent crystallography research confirms that Form V crystals at 32-34°C create the optimal structure for light reflection, which our eyes perceive as a deep, luxurious shine. This is why starting with a clean mold and maintaining a precise tempering temperature aren’t just suggestions; they are the physical requirements for achieving that coveted professional finish.
Your Action Plan for Flawless Mold Preparation
- Cleanse: Start by washing your polycarbonate molds with warm water and a soft, non-abrasive cloth. Avoid harsh soaps.
- Polish: Once dry, take a piece of cotton wool or a microfiber cloth and vigorously polish the interior of each cavity until the surface squeaks.
- Degrease: Lightly moisten a fresh cotton pad with food-grade alcohol and give the cavities a final wipe to remove any microscopic fat residues.
- Inspect: Hold the mold up to a bright light. Look for any remaining streaks, dust particles, or scratches that could mar the final product.
- Protect: Store your perfectly polished molds in a dust-free environment, such as a sealed container, until you are ready to use them.
Why Do Heart-Shaped Chocolates Sell 5x Better in February?
At first glance, this question might seem out of place in a guide about Easter eggs. But the answer reveals a universal truth about seasonal treats that is directly applicable to our work. The phenomenal success of heart-shaped chocolates for Valentine’s Day isn’t just about romance; it’s a masterclass in the power of symbolic shorthand. The heart shape is an immediate, language-free communication of love and affection. It requires no explanation. The consumer sees the shape, understands the message, and makes the purchase. It’s an emotional shortcut.
This is precisely the same principle that powers the Easter egg. As we discussed earlier, the egg is a symbol of rebirth and surprise. When you craft a chocolate egg, you are leveraging this deep-seated cultural association. The shape does the heavy lifting for you, instantly communicating “Easter,” “spring,” and “celebration.” This power is amplified by scarcity. The limited seasonal availability of these items creates a sense of urgency and anticipation, dramatically increasing their perceived value during the peak holiday period.
The lesson here for the home chocolatier is profound. The success of your creation is tied not just to your technical skill but also to your understanding of this symbolic power. By choosing to make an egg or a bunny, you are participating in a tradition that gives your work an immediate and powerful context. You are crafting an object that people are already primed to love. It’s why an egg-shaped chocolate in April feels so much more special than a simple round chocolate, just as a heart shape does in February. You are tapping into a powerful current of shared meaning.
Key Takeaways
- Mastery is about controlling chocolate’s physics (crystallography, thermal shock) and its psychology (symbolism, sensory delight).
- A perfect shine is non-negotiable and comes from two things: immaculate mold polishing and precise tempering for Beta-V crystal formation.
- A successful large-batch production relies on a multi-day workflow, starting with meticulous preparation (‘mise en place’).
When to Tap the Mold to Release Bonbons Without Force?
This is the moment of truth. You’ve cooled your chocolates perfectly, and now it’s time to release them. The satisfying ‘clack’ of perfectly set chocolates dropping from their mold is a chocolatier’s favorite sound. Forcing them out is a sign something went wrong. A perfect release should be nearly effortless. This magic is driven by a simple physical process: contraction. As well-tempered chocolate sets and cools, it shrinks slightly, pulling away from the sides of the mold. This creates a microscopic air gap that allows the chocolate to fall out easily.
So, how do you know when that magical moment has arrived? It’s a combination of visual and auditory cues. If you are using clear polycarbonate molds, the signs are easy to spot. You’ll see the chocolate pulling away from the edges, and areas will appear ‘frosted’ or cloudy as the air gap forms. This is the most reliable visual indicator that the chocolate is ready. Don’t rush this process; precision monitoring studies show that well-tempered chocolate contracts by about 2.5%, a process that can take up to 90 minutes at room temperature after initial setting.
If your molds are opaque or the visual cues are unclear, your ears can help. Gently tap a corner of the mold on your work surface. If you hear a sharp, high-pitched ‘clack’, the chocolates are hard and have released. If you hear a dull, low ‘thud’, they are still too soft and need more time. Trying to release them now will only lead to smudges and breakage. Patience is everything. The chocolate itself will tell you when it’s ready to be born.
Your Checklist for a Perfect Release
- Look for Gaps: Search for visible contraction gaps forming between the chocolate and the edges of the mold cavities.
- Check for Air Pockets: In clear molds, watch for cloudy or frosted-looking patches to appear, indicating the chocolate has pulled away.
- Listen for the ‘Clack’: Give one corner of the mold a firm, sharp tap on the counter. A crisp ‘clack’ means it’s ready; a dull ‘thud’ means wait longer.
- Test One Piece: Before inverting the entire mold, try to release just one bonbon or egg half to confirm it’s fully set and contracted.
- Ensure Room Temperature: Allow the mold to fully return to room temperature (around 20-22°C or 68-72°F) before attempting to unmold to prevent thermal stress.
Now that you’ve journeyed through the science, psychology, and technique, you hold the keys to creating Easter eggs that are not just homemade, but truly professional. Begin your journey by mastering the art of tempering, and you’ll transform your results from the very first batch.