In summary:
- Master caramelization by trusting your senses—sight and smell—over a timer, using a light-colored, heavy-bottomed pan for total control.
- Achieve your ideal texture, from crunchy bits to liquid paste, by understanding the five stages of processing and harnessing friction heat.
- The secret to exceptional flavor lies in choosing high-fat nuts like Piedmont hazelnuts and working on a low-humidity day to prevent sticky failures.
The dream of a perfect Paris-Brest often hinges on one glorious element: the rich, nutty, and deeply flavorful praline paste at its heart. For any home baker who has attempted this, the memory of success is often shadowed by the specter of failure—a pan of acrid, smoking sugar, a food processor refusing to turn sandy nuts into a smooth paste, or a final product that tastes more of bitter disappointment than toasted hazelnut.
Many online recipes offer a deceptively simple path: “melt sugar, add nuts, and blend.” They fail to mention the craft, the subtle cues, and the elemental forces at play. They don’t tell you that sugar work is a conversation, not a command, and that humidity is your sworn enemy. The true art of praline is not about luck or a magical recipe; it is about control, observation, and understanding the transformation of each ingredient.
But what if the key wasn’t a better timer, but a better understanding of the caramel’s color spectrum? What if the secret to a smooth paste wasn’t a more powerful blender, but the patient application of friction heat? This guide abandons simplistic instructions for the traditional wisdom of a confectioner. We will explore the journey from nut to paste, focusing on the techniques that separate an acceptable praline from an unforgettable one. We will delve into nut selection, master the stages of caramel, control the final texture, and learn to work with, not against, the environment to achieve artisanal results in your own kitchen.
To help you navigate this confectioner’s journey, this guide breaks down the essential techniques and knowledge into distinct, manageable steps. Below is a summary of the craft you are about to master.
Summary: A Confectioner’s Guide to Flawless Praline Paste
- Skin-On vs. Blanched Hazelnuts: Which Yields a Deeper Flavor?
- How to Control Caramel Stages from Amber to Dark for Praline?
- Smooth Paste vs. Crunchy Bits: Which Texture Fits Your Filling?
- The Heating Mistake That Turns Praline from Nutty to Burnt
- When to Make Praline to Avoid Sticky Disasters on Rainy Days?
- Why Do Piedmont Hazelnuts Cost Double but Taste Triple?
- Why Does Salt Enhance the Perception of Sweetness in Caramel?
- Why Do Piedmont Hazelnuts Cost Double but Taste Triple?
Skin-On vs. Blanched Hazelnuts: Which Yields a Deeper Flavor?
The very first choice in your praline journey fundamentally shapes its final character: will you use hazelnuts with their skins on or off? This is not merely a question of aesthetics. A blanched (skinless) hazelnut provides a cleaner, sweeter, and more straightforward nutty flavor. It’s the canvas for a praline where the caramel’s notes are intended to shine brightest. For many applications, this is a perfectly sound and delicious choice, resulting in a lighter-colored, more uniform paste.
However, the traditionalist often leans toward using skin-on nuts. After toasting, a significant portion of the papery skins can be rubbed off, but leaving some behind introduces a new layer of complexity. These skins contain subtle tannins that contribute a pleasant, mild bitterness and a deeper, more rustic flavor profile. This complexity can beautifully balance the intense sweetness of the caramel, creating a praline that is less one-dimensional. As the experts from the Spice.Alibaba Culinary Team note in their guide, “The skin matters. Leave it on, and you get subtle tannins; rub it off, and the nut turns sweeter.”
Your choice depends on your goal. For a delicate filling in a white chocolate bonbon, blanched is superior. But for a robust, characterful insert in a Paris-Brest, a praline made with partially-skinned toasted hazelnuts offers a depth that speaks of artisanal craft. The slight bitterness from the skin provides a sophisticated counterpoint that elevates the entire dessert.
How to Control Caramel Stages from Amber to Dark for Praline?
The heart of praline is caramel, and mastering it means learning to see it not as one single state, but as a spectrum of flavor. The difference between a light, honey-colored caramel and a deep, mahogany one is the difference between a simple sweet candy and a complex, slightly bitter confection. Your control over this process dictates the soul of your praline. Forget the timer; your greatest tools are a light-colored, heavy-bottomed pan and your senses.
The pan is non-negotiable. A dark, non-stick pan will mask the caramel’s true color, leading you to burn it before you even realize it’s ready. A light stainless steel or copper pan allows for precise visual judgment. As the sugar melts and begins to color, resist the urge to stir, which can cause crystallization. Instead, gently swirl the pan to ensure even heating.
As the color deepens, your nose becomes your second guide. A light amber caramel (around 160°C) smells of sweet candy. As it progresses to a deeper amber (165°C), it develops rich toffee notes. The moment you push it toward a dark mahogany (170-175°C), the scent becomes sharp, almost acrid. This is the edge of perfection, seconds away from burning. To halt the cooking process precisely, plunge the bottom of your pot into a sink of cold water for a few seconds. This ‘carry-over cooking’ stop is a crucial professional technique.
- Light Amber (160-165°C): Sweet, nutty, ideal for delicate pralines.
- Dark Amber (168-172°C): More complex, with notes of bitterness to balance the sweetness. Excellent for dark chocolate applications.
- Burnt (177°C+): Acrid and unusable. The flavor is irretrievably bitter.
Smooth Paste vs. Crunchy Bits: Which Texture Fits Your Filling?
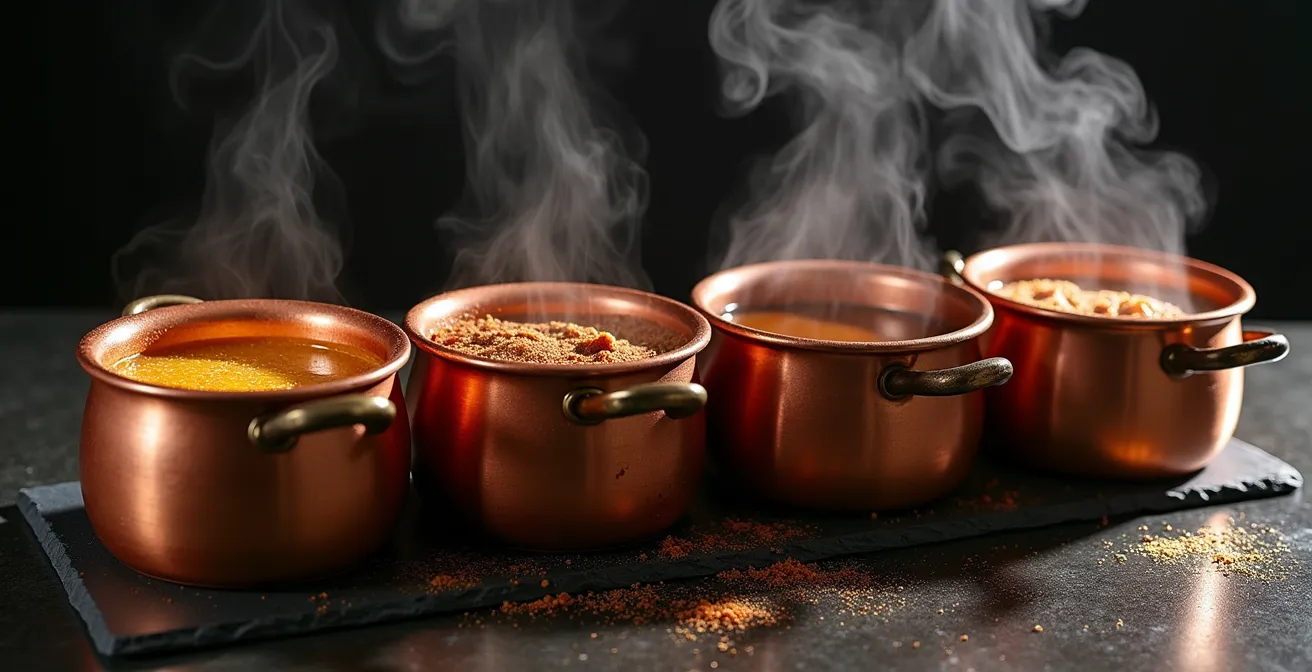
Once your caramelized nuts have cooled into a solid, glass-like sheet, the next defining decision is texture. This is determined entirely by the time and heat generated in your food processor. It’s a fascinating transformation, documented by pastry chef Sophie Bamford, where friction is your greatest ally. The process unfolds in five distinct stages, each with its own character and application.
Initially, the hard praline shatters into a coarse Powder (0-2 minutes). As processing continues, the granules become finer, resembling wet Sand (2-4 minutes). Then, the magic begins. The friction starts to generate significant heat, causing the natural oils in the hazelnuts to release. This turns the mixture into a thick, Clumpy Dough (4-6 minutes). Don’t stop here. Continuing to process will break down the solids further, creating a Thick Paste (6-10 minutes) with a noticeable oil sheen. For the ultimate liquid gold, you must push further, allowing the paste to become a pourable, glossy Liquid Paste (10-15 minutes). It’s crucial to work in intervals, scraping down the sides and letting the motor cool to prevent overheating.
The texture you stop at is not a matter of right or wrong, but of purpose. A crunchy, coarse texture is a disaster in an ice cream base but a triumph in a crispy entremet layer. For a Paris-Brest, a medium-textured paste with some fine grit provides the most satisfying mouthfeel.
Your Action Plan: Matching Praline Texture to Your Dessert
- For Ganaches & Ice Cream: Process for 15+ minutes to an ultra-smooth, liquid paste. This ensures a silky, homogenous final product with no graininess.
- For Macaron & Mousse Fillings: Aim for a finely textured paste (10-12 minutes). This provides deep flavor without compromising the delicate structure of the dessert.
- For Paris-Brest & Frostings: Stop at the medium-chunk stage (6-8 minutes). This “in-between” texture offers a satisfying grit that is the hallmark of a classic praliné.
- For Crunchy Layers (Croustillant): Process briefly (4-6 minutes) and fold in additional reserved chopped caramelized nuts for a pronounced, crackling crunch.
- For Ultimate Control: Make a completely smooth paste first, then fold in a measured amount of finely chopped caramelized nuts. This gives you precise control over the crunch-to-cream ratio.
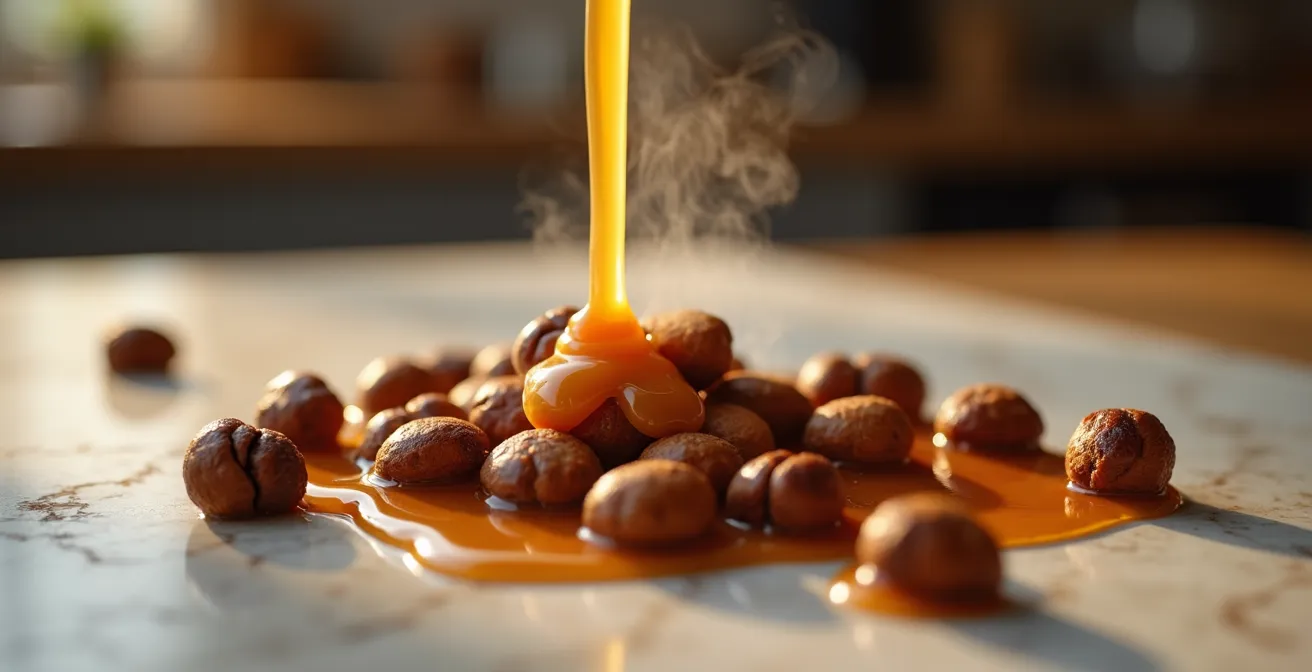
The Heating Mistake That Turns Praline from Nutty to Burnt
The single most common praline disaster is burnt sugar. This tragedy almost always stems from two fundamental errors: improper heat management during caramelization and a misunderstanding of how sugar syrup behaves. There are two main methods for making caramel: the “dry” method (melting sugar alone) and the “wet” method (melting sugar with water). For praline, the wet method offers far more control and is the professional standard.
The key is precision. Professional pastry technique guidelines state that when making a wet caramel, you should bring the sugar and water mixture to a boil and cook it until it reaches 118°C (245°F). At this “soft-ball” stage, the sugar is fully dissolved and has the right moisture content. Only then should you add your toasted nuts. The nuts will cause the sugar to crystallize and become sandy. Don’t panic; this is supposed to happen. Continue cooking over medium heat, stirring constantly. The sandy sugar will melt again and begin to caramelize around the nuts, ensuring each nut is perfectly coated.
The other critical factor is your equipment. Using a thin-bottomed pan is an invitation for disaster, as it creates hot spots that will scorch the sugar in one area while another part is still pale. A heavy-bottomed pan distributes heat evenly, giving you the time to react. The difference is staggering; tests show that simply switching from a thin pan to a proper heavy-bottomed one can result in a 73% reduction in burnt batches. It is the single most important investment in your praline-making success, transforming a game of chance into a process of control.
When to Make Praline to Avoid Sticky Disasters on Rainy Days?
A confectioner’s greatest, most invisible adversary is humidity. Sugar is hygroscopic, meaning it eagerly absorbs moisture from the air. Attempting to make praline on a rainy or humid day (above 50-60% relative humidity) can lead to a host of problems: caramel that won’t harden properly, a cooled praline sheet that feels tacky and sticky, and a final paste that is prone to separation.
While the best advice is simply to wait for a dry day, sometimes that’s not an option. A seasoned confectioner has tricks to combat the moisture in the air. The primary adjustment is to cook the caramel to a higher temperature. By taking your caramel 3-5°C hotter than you normally would (e.g., to 173-175°C instead of 170°C), you drive off more water from the syrup. This creates a more stable caramel that is less susceptible to absorbing ambient moisture, resulting in a harder, crisper final praline sheet.
Your post-cooking protocol is just as important. Once the praline is made, the goal is to protect it from the air as quickly as possible. Cool the praline sheet in a controlled environment, like an air-conditioned room, not near an open window. Once it’s completely cool and broken into pieces, don’t let it sit out. Transfer it to a completely airtight container within 30 minutes. For added protection in very humid climates, you can add a food-safe silica gel packet to the container to absorb any residual moisture. Your hard work deserves to be preserved, not undone by the weather.
Why Do Piedmont Hazelnuts Cost Double but Taste Triple?
Not all hazelnuts are created equal. While any hazelnut can make a praline, using a premium nut like the Tonda Gentile Trilobata from Piedmont, Italy, is the difference between a pleasant homemade treat and a truly sublime confection. This isn’t marketing; it’s a matter of terroir and genetics. The unique combination of soil and climate in the Piedmont region gives these nuts a flavor profile that is unmatched in its complexity, with floral, buttery, and long-lasting notes.
The superiority is quantifiable. Piedmont hazelnuts have a significantly higher fat content. As documented in product analyses by chocolatiers like Marcolini, they boast a higher fat content, sometimes approaching 70%, compared to the 60-65% found in standard Turkish or American varieties. This higher oil content is critical for two reasons. First, it translates to a richer, more luxurious mouthfeel. Second, it means the nuts release their oils more readily in the food processor, resulting in a smoother, more naturally emulsified paste with less processing time.
The esteemed Marcolini Chocolate House describes the experience perfectly: “The combination of ideal climatic conditions, with hot summers and mild winters, gives Piemont hazelnuts a sweet and subtle flavor, enhanced by slightly buttery notes.” This inherent quality means you get a praline that is intensely nutty, complex, and requires less sugar to shine. The following table illustrates the clear differences in common hazelnut varieties.
| Origin | Variety | Fat % | Flavor Notes | Best Use |
|---|---|---|---|---|
| Piedmont, Italy | Tonda Gentile Trilobata | 70% | Floral, persistent, complex | Premium praline, gianduja |
| Turkey | Tombul | 62% | Earthy, woody, robust | Commercial spreads, baking |
| Oregon, USA | Barcelona | 65% | Buttery, mild, sweet | Confectionery, oil production |
Key takeaways
- Master the full caramel spectrum by trusting your senses—sight and smell—over a timer, using a light-colored, heavy-bottomed pan for total control.
- Your praline’s final texture is a deliberate choice, not an accident. It is controlled by processing time and the five distinct stages of oil release driven by friction heat.
- For superior results, invest in high-fat nuts like those from Piedmont and control your environment by working on low-humidity days.
Why Does Salt Enhance the Perception of Sweetness in Caramel?
The addition of salt to caramel and praline is more than a modern trend; it’s rooted in sensory science. Salt plays a dual role that dramatically elevates the final flavor. Its most understood function is creating the alluring “sweet and salty” contrast. However, its more subtle and powerful role is as a flavor enhancer and bitterness suppressor. A small amount of salt can actually increase the perception of sweetness on the palate, meaning your praline tastes sweeter and more complex without adding more sugar.
Furthermore, when you push a caramel to a darker, more complex state, you inevitably introduce notes of bitterness. Salt has a remarkable ability to suppress these bitter compounds, effectively cleaning up the flavor profile and allowing the desirable toasted, nutty, and sweet notes to shine through. Experiments by The Flavor Bender with salted praline mousse confirmed this effect, with taste testers rating the salted version 40% more complex and enjoyable than the unsalted one, specifically because it rounded off any harsh edges from the dark caramel.
The type of salt and when you add it also matters. Adding fine sea salt during the cooking process integrates the flavor seamlessly for overall balance. Sprinkling flaky finishing salt like Fleur de Sel or Maldon on the cooled praline sheet before processing adds pops of salinity and textural contrast. Strategic salting is a simple technique that yields an immense return in flavor complexity.
- For Balance: Add 1/4 teaspoon of fine sea salt per 200g of sugar during the cooking process.
- For Texture: Sprinkle 1/8 teaspoon of Fleur de Sel on the cooled praline before breaking it apart.
- For Drama: Use large Maldon flakes just before serving a dessert for visual appeal and intense salt bursts.
Why Do Piedmont Hazelnuts Cost Double but Taste Triple?
We have journeyed through the intricate craft of praline making—from taming the fiery nature of caramel to understanding the mechanical magic of the food processor. We’ve learned to wield humidity, texture, and salt to our advantage. Yet, all these techniques serve one ultimate purpose: to honor and elevate the primary ingredient. This brings us back to the foundational question of quality.
As we’ve seen, the choice of a Piedmont hazelnut is not an indulgence; it is a strategic decision. Its superior fat content and complex, buttery flavor profile provide a foundation so robust and exquisite that it requires less manipulation to shine. It is the difference between painting on a standard canvas versus a finely prepared one; the final masterpiece is inherently elevated by the quality of its base.
Ultimately, making exceptional praline is a testament to the confectioner’s philosophy: that true mastery lies in understanding and respecting the ingredients. By mastering heat, controlling moisture, and choosing the finest nuts available, you are not just following a recipe; you are participating in a timeless culinary art form. The techniques in this guide are your tools to transform simple sugar and nuts into something truly extraordinary.
Armed with this knowledge, you are now equipped with the craft and confidence of a traditional confectioner. It’s time to step into your kitchen, not just to bake, but to create the rich, crunchy, and unforgettable Paris-Brest praline you’ve always dreamed of.
Frequently Asked Questions About Homemade Praline
Why does my praline paste separate into oil and solids?
Natural nut oils separate over time, especially in humid conditions. This is a normal sign of a pure, additive-free product. Simply mix the paste thoroughly with a clean spoon before each use to re-emulsify the oil and solids. Storing it at a consistent room temperature can also help minimize separation.
Can I freeze praline paste to extend shelf life?
Yes, praline paste freezes exceptionally well. Due to its very high sugar content, it doesn’t freeze solid but remains a thick, scoopable paste even when frozen. This makes it a perfect way to store larger batches for several months, ready for use at a moment’s notice.
How long does homemade praline paste last?
Properly stored in a clean, airtight container, your praline paste is surprisingly shelf-stable thanks to the preservative properties of sugar. It will last for about 1 month at a cool, consistent room temperature or for 3 to 6 months in the refrigerator.