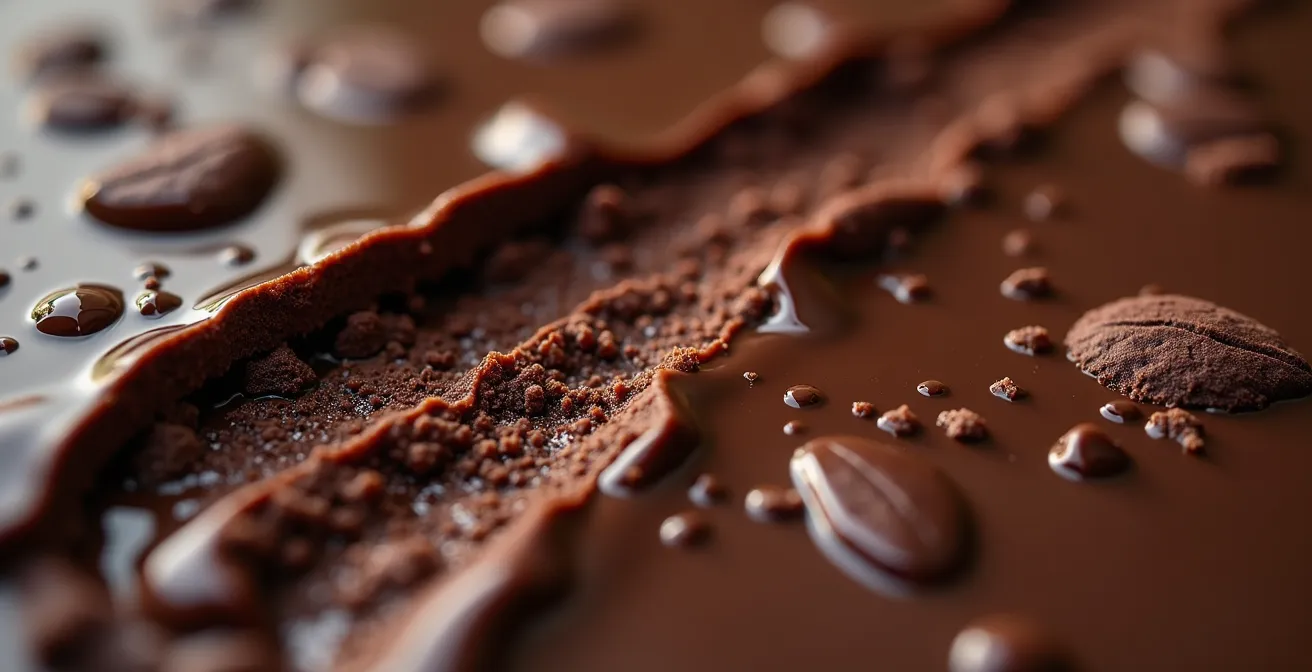
Contrary to popular belief, a split ganache is not a sign of bad luck or poor ingredients; it’s a predictable failure of a chemical emulsion.
- A split occurs when the fat (from cocoa butter and cream) and water (from cream) fail to bond, separating into a greasy, grainy mess.
- Fixing it requires re-establishing this bond through precise temperature control and mechanical friction, not just by adding more liquid.
Recommendation: Stop guessing and start thinking like a kitchen chemist. Understanding the simple science of emulsions is the only reliable path to perfectly smooth ganache every single time.
There’s a specific kind of culinary heartbreak that every aspiring baker knows. It’s the moment you pour warm, fragrant cream over a bowl of beautiful dark chocolate, begin to stir with anticipation, and watch in horror as the glossy, unified mixture you envisioned curdles into an oily, separated mess. The fat leaches out, creating a greasy film, while the solids clump together in a grainy clump. You’re left with a broken ganache and a sinking feeling of frustration.
Common advice often points to vague culprits: the cream was “too hot,” the chocolate was “seized,” or you didn’t “stir it right.” While temperature and technique play a role, these explanations miss the fundamental point. They treat ganache-making like an unpredictable art when it is, in fact, a predictable science. The true reason your ganache splits has little to do with luck and everything to do with the delicate molecular dance of an emulsion.
This guide will take you beyond the frustrating guesswork. We won’t just offer quick fixes; we will deconstruct the process from a chemical perspective. The real key to mastering ganache is not to memorize a recipe, but to understand the core principles of why water and fat—two natural enemies—agree to bond in the first place. By thinking like a kitchen chemist, you will learn not only how to rescue a broken ganache with scientific precision but, more importantly, how to prevent it from ever splitting again.
We will explore the fundamental physics of the emulsion, the scientific method for rescuing a broken mixture, the impact of different liquids on flavor, and the secrets to achieving a perfectly stable, long-lasting texture. Prepare to move from frustration to mastery.
Summary: The Science of Why Your Ganache Splits and How to Fix It
- Why Water and Fat Need Friction to Bond in Ganache?
- How to Fix a Broken Ganache with Just One Spoon of Liquid?
- Heavy Cream vs. Water: Which Liquid Releases More Chocolate Flavor?
- The Cooling Mistake That Makes Ganache Grainy Overnight
- How to Infuse Herbs into Cream Before Making the Emulsion?
- How to Create a Ganache with a Shelf Life of 6 Weeks?
- Why Use Single-Origin Couverture for Superior Ganache Results?
- Why the “Mayonnaise Method” Works for Chocolate Emulsions?
Why Water and Fat Need Friction to Bond in Ganache?
At its core, a ganache is an oil-in-water emulsion. Think of a simple vinaigrette: oil and vinegar naturally separate. To combine them, you must shake or whisk vigorously. Ganache is no different. You are forcing two ingredients that repel each other—the fat from the cocoa butter and the water from the cream—into a stable suspension. This doesn’t happen by magic; it requires two key elements: mechanical force and a stabilizing agent.
The “friction” from stirring or whisking is the mechanical force. It breaks the large globules of fat into millions of microscopic droplets, so small that they can be suspended within the water. The more you agitate the mixture (within reason), the smaller these droplets become, creating a smoother, more stable emulsion. However, friction alone isn’t enough. Chocolate contains a natural emulsifier, lecithin, a phospholipid that acts as a peacemaker. One end of the lecithin molecule is attracted to water (hydrophilic) and the other to fat (lipophilic). It surrounds each tiny fat droplet, creating a protective barrier that prevents them from clumping back together and separating from the water.
This emulsion is incredibly fragile. As documented by King Arthur Baking, excessive heat is a primary culprit for breaking it. When a ganache is heated too high (e.g., above 180°F), the delicate bonds holding the sugar, cocoa solids, and fat together are shattered. The fats then cluster together, squeezing out the water and resulting in a greasy separation. This is why pouring boiling cream directly onto chocolate without allowing it to cool slightly is a common cause of failure. The emulsion was never given a chance to form correctly. In fact, cutting-edge research in Nature Communications shows that even a tiny 0.1% addition of phospholipids can be critical for stabilizing the very crystal structure of chocolate.
How to Fix a Broken Ganache with Just One Spoon of Liquid?
When your ganache splits, the emulsion is broken. Your first instinct might be to whisk furiously or add more cream, but these actions often make the problem worse by overwhelming the mixture. The professional solution is more precise and counter-intuitive: you rebuild the emulsion from scratch, using the broken ganache itself as the ingredient. This is known as creating a “seed” emulsion.
The key is to create a small, stable core emulsion and then gradually incorporate the rest of the broken mixture into it. By starting with a tiny amount, you can apply focused mechanical force (whisking) to properly suspend the fat droplets within the liquid. Once this “seed” is glossy and stable, it has the strength to emulsify a larger quantity of the separated mixture. Adding a bit of an invert sugar like glucose or corn syrup helps immensely, as it attracts water and further aids in stabilizing the emulsion.
Do not attempt this fix while the ganache is hot. A split ganache must be allowed to cool down to below body temperature (around 35°C / 95°F) before any rescue attempt. Trying to fix a hot, separated mixture is a futile effort, as the fat molecules are too agitated to be properly suspended.
Your Ganache Rescue Plan: A 5-Step Checklist
- Cool Down: Leave the split ganache to cool completely. It should be below 35°C (95°F), or cooler than your hand.
- Create the Seed: In a separate, clean bowl, place just one tablespoon of the broken ganache.
- Add Hot Liquid: Gently heat a small amount of liquid (cream, milk, or even water) until warm, not boiling. Add just one teaspoon of this warm liquid to your “seed” tablespoon of ganache.
- Whisk the Core: Whisk this small mixture vigorously. It will look ugly at first, but it should quickly come together into a thick, glossy, and stable emulsion. This is your seed.
- Incorporate Gradually: Once the seed is stable, add another tablespoon of the broken ganache and whisk until fully incorporated. Continue adding the broken mixture, one spoonful at a time, whisking until smooth after each addition.
Heavy Cream vs. Water: Which Liquid Releases More Chocolate Flavor?
The liquid you choose for your ganache is not just a vehicle for melting chocolate; it fundamentally alters its final flavor and texture. The most common choice is heavy cream, which typically contains 36-40% milk fat. A less common but powerful alternative is water, which creates what is known as a *ganache à l’eau*.
A water-based ganache provides the purest and most intense chocolate flavor. Because water contains no fat, there is nothing to buffer or mute the cocoa solids’ inherent taste profile. The aromatic, acidic, and fruity notes of the chocolate are brought to the forefront. The resulting texture is typically thinner, less rich, and sets up firmer, making it excellent for applications where a clean, sharp chocolate taste is desired.
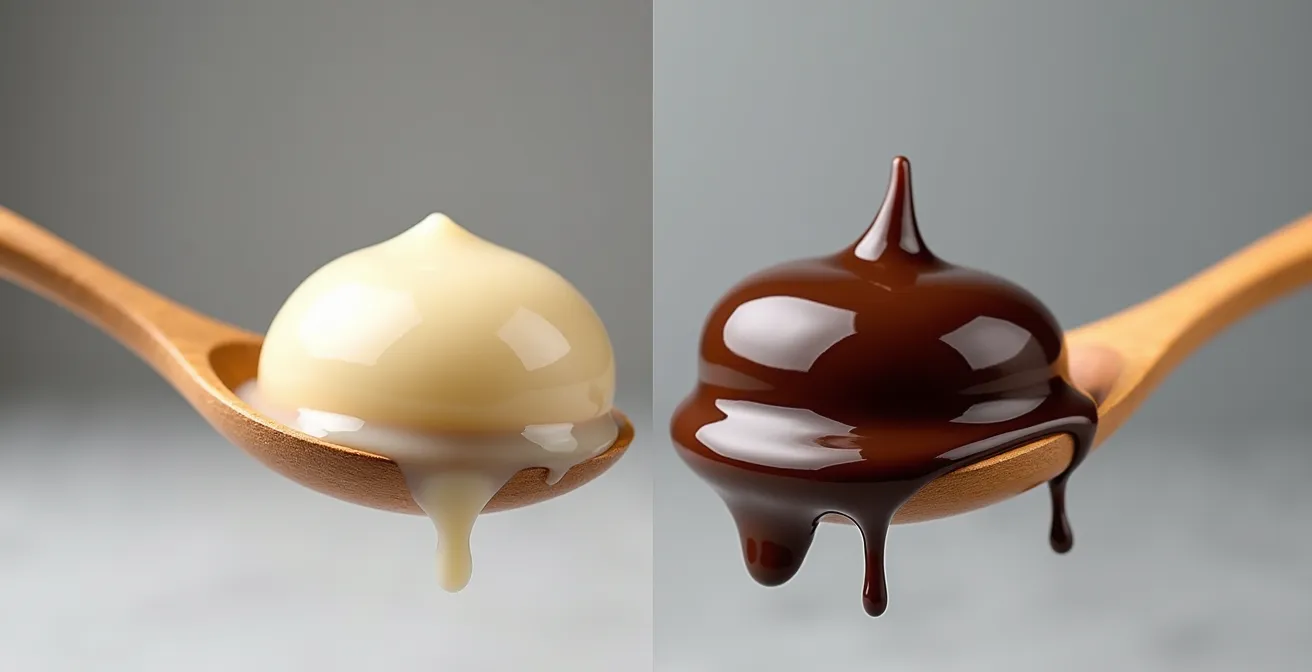
A cream-based ganache, on the other hand, offers a richer, rounder, and more complex flavor experience. The milk fat in the cream adds its own dairy notes and, more importantly, changes how we perceive the chocolate’s flavor. As noted by baking expert Sally McKenney, the fat in the cream has a tangible effect on the tasting experience.
The milk fat in heavy cream coats the palate, slowing down the melting process in the mouth and prolonging the perception of fat-soluble aromas like nutty, roasted, and caramel notes.
– Sally McKenney, Sally’s Baking Addiction – Chocolate Ganache Guide
Neither is “better”—they simply serve different purposes. For a truffle filling where you want to highlight the delicate notes of a single-origin chocolate, water may be the superior choice. For a rich, decadent cake frosting or a classic truffle that melts luxuriously in the mouth, heavy cream is the traditional and often preferred option.
The Cooling Mistake That Makes Ganache Grainy Overnight
You’ve made a perfectly smooth, glossy ganache. You leave it on the counter or, worse, put it in the refrigerator to set, only to find it has a grainy, almost sandy texture the next day. This frustrating transformation is not a failure of the emulsion, but a failure of crystallization. The culprit is the cocoa butter and its complex molecular structure.
Cocoa butter is polymorphic, meaning it can solidify into different crystal formations, each with a unique melting point and stability. In fact, scientific analysis reveals cocoa butter can crystallize into 6 distinct polymorphic forms (I-VI), with melting points ranging from 17°C (63°F) to 36°C (97°F). Only one of these, Form V, is desirable. It’s the stable crystal that gives well-tempered chocolate its signature snap, gloss, and smooth melt-in-your-mouth feel. All other forms are unstable, leading to a dull appearance, a grainy texture, and fat bloom (the grayish film that can appear on chocolate).
When you cool a ganache too quickly—for example, by placing it in the fridge—you are forcing the cocoa butter to crystallize into a chaotic mix of unstable forms (I, II, III, and IV). While it may seem firm, these crystals will slowly transform over the next few hours, rearranging themselves and causing the dreaded graininess. The perfect, smooth texture is lost forever.
Case Study: The Science of Slow Cooling
Research by chocolate equipment manufacturer CocoTerra provided a clear demonstration of this principle. They found that ganache cooled slowly and with gentle agitation at a controlled ambient temperature of 16-18°C (60-65°F) over a period of 12-24 hours consistently formed the stable Form V crystals. The result was a perfectly smooth, glossy ganache that remained stable for days. In stark contrast, ganaches that were rapidly chilled in a refrigerator developed unstable crystal forms and showed signs of grainy texture and fat bloom within 48 hours.
How to Infuse Herbs into Cream Before Making the Emulsion?
Infusing flavors like herbs, spices, or tea into your ganache opens up a world of creative possibilities. However, the process must be handled with precision to avoid compromising the emulsion. The primary method involves infusing the flavor into the cream before it’s combined with the chocolate. There are two main techniques: hot infusion and cold infusion.
Hot infusion is fast and effective for robust ingredients like rosemary, thyme, coffee beans, or cinnamon sticks. The process is simple: gently heat the cream with the herbs until it is steaming (do not boil), then remove from heat, cover, and let it steep for 15-30 minutes. The heat helps to quickly extract the aromatic compounds. Afterwards, the cream must be strained meticulously, preferably through a fine-mesh sieve lined with cheesecloth, to remove every particle. It should then be brought back to the correct temperature before being poured over the chocolate.
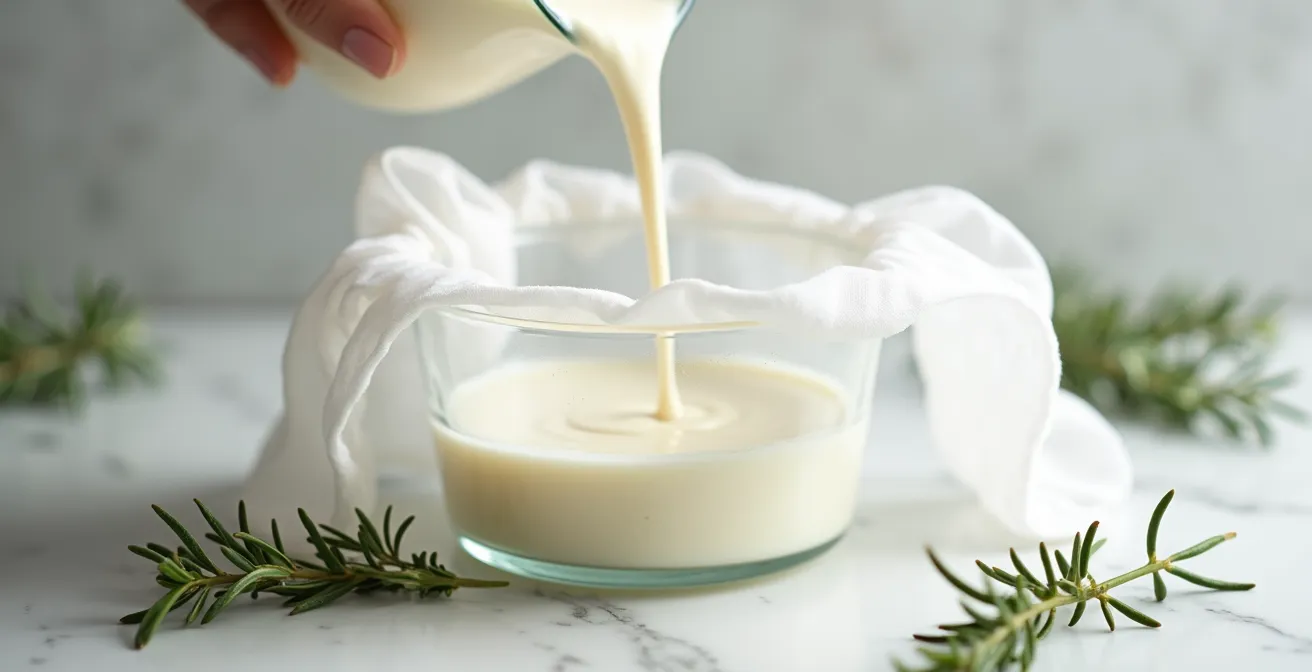
Cold infusion is the superior method for delicate herbs like mint, basil, or lemon verbena. The volatile aromatic compounds in these herbs are easily destroyed by heat, resulting in a “cooked” or diminished flavor. For a cold infusion, simply combine the fresh herbs and cold cream in a sealed container and let it infuse in the refrigerator for 12 to 24 hours. While it requires patience, this technique preserves the fresh, bright character of the herbs. As with hot infusion, meticulous straining is essential before use. Any stray micro-particles can act as “seeds” that encourage unwanted crystallization, leading to a grainy final product.
How to Create a Ganache with a Shelf Life of 6 Weeks?
For professional chocolatiers and ambitious home bakers, extending the shelf life of a ganache from a few days to several weeks is a crucial skill. The enemy of shelf life is not time, but water. Specifically, it’s the “free” water in the ganache that is available for microbial growth (bacteria, yeasts, and molds). The key to a long-lasting ganache lies in controlling its Water Activity (Aw).
Water Activity is a measure of this available water, on a scale from 0.0 (completely dry) to 1.0 (pure water). Most fresh foods, like meat and milk, have an Aw above 0.95, making them highly perishable. To prevent spoilage, you must lower the Aw to a level where microorganisms cannot thrive. For ganache, the magic number is below 0.85. According to FDA and Virginia Tech research, a water activity below 0.85 prevents all pathogenic bacteria growth, making the product shelf-stable.
How do you lower Water Activity? Not just by using less cream, but by binding the water molecules with other ingredients, effectively “locking them up.” The most powerful tools for this are sugars, specifically invert sugars like glucose, sorbitol, or trimoline. These sugars are hygroscopic, meaning they attract and hold onto water molecules, reducing the amount of free water available for microbes. By replacing a portion of the recipe’s cream and regular sugar with an invert sugar, you can dramatically lower the Aw and extend shelf life without making the ganache overly sweet.
The following table illustrates how different Water Activity levels affect microbial growth, showing why getting below the 0.85 threshold is so critical.
| Water Activity (Aw) | Microorganism Growth | Typical Foods |
|---|---|---|
| 0.95-1.0 | Most bacteria (Salmonella, E. coli) | Fresh meat, milk |
| 0.91-0.95 | Most yeasts | Bread, cheese |
| 0.87-0.91 | Most molds | Cured meats |
| 0.80-0.87 | Staphylococcus aureus | Jams, flour |
| 0.70-0.80 | Osmophilic yeasts | Dried fruits |
| Below 0.60 | No microbial growth | Crackers, pasta |
Why Use Single-Origin Couverture for Superior Ganache Results?
For a truly exceptional ganache, the quality of your chocolate is paramount. But “quality” is more than just a brand name; it’s about the chocolate’s composition. This is where couverture chocolate distinguishes itself. Unlike standard baking chocolate, couverture chocolate legally requires a minimum of 31% cocoa butter content. This higher percentage of cocoa butter is not just for flavor; it is critical for fluidity and creating a stable, silky emulsion.
Going a step further, using single-origin couverture allows for an even greater level of control and artistry. Single-origin means the cocoa beans used to make the chocolate all come from a specific country or even a single plantation. This is significant because the growing conditions (the *terroir*) dramatically affect the beans’ characteristics, including their fat content and flavor profile. A Forastero bean from Ecuador will have a different chemical makeup than a Trinitario bean from Madagascar.
This variance directly impacts how the chocolate behaves when making an emulsion. As chocolatier Aleksandr Nenoglyadov explains, the origin of the bean is a key variable in the scientific formula of a ganache.
The fat and solids composition of cocoa beans varies by origin. A high-fat Forastero bean from Ecuador will emulsify differently than a lower-fat, acidic Trinitario from Madagascar.
– Aleksandr Nenoglyadov, The Science Behind Chocolate Ganache
Using a single-origin chocolate allows you to create a ganache with a distinct and predictable flavor profile—whether it’s the red fruit notes of a Madagascan chocolate or the nutty, caramel tones of one from Venezuela. It also means you may need to slightly adjust your cream-to-chocolate ratio to account for the specific fat content of that origin. While it requires more knowledge, it elevates ganache from a simple mixture to a true expression of the cocoa bean’s unique character.
Key Takeaways
- A ganache is a fragile oil-in-water emulsion that requires mechanical force (friction) and a stabilizer (lecithin) to form.
- Grainy texture is caused by rapid cooling, which creates unstable cocoa butter crystals (Polymorphs I-IV) instead of the desired stable Form V.
- Shelf life is determined by Water Activity (Aw). Keeping Aw below 0.85 by using invert sugars prevents microbial growth.
Why the “Mayonnaise Method” Works for Chocolate Emulsions?
The final key to consistently perfect ganache lies in understanding the “Mayonnaise Method.” This isn’t a specific recipe, but an analogy for the physical process of building a stable emulsion. Think about making mayonnaise from scratch: you start with an egg yolk and then add the oil incredibly slowly, drop by drop, whisking continuously. If you were to dump all the oil in at once, it would never emulsify. The same principle applies to ganache.
A common mistake is to pour all the hot cream over the chocolate at once. This overwhelms the system. The “Mayonnaise Method” for ganache dictates a more controlled approach. You begin by creating a small, concentrated paste in the center of the bowl. Pour just a small amount of the warm cream into the melted chocolate and, using a spatula, stir in small, tight circles in the very center. You are creating a “seed” emulsion, a nucleus that is thick, dark, and glossy. This is the strong, stable core of your ganache.
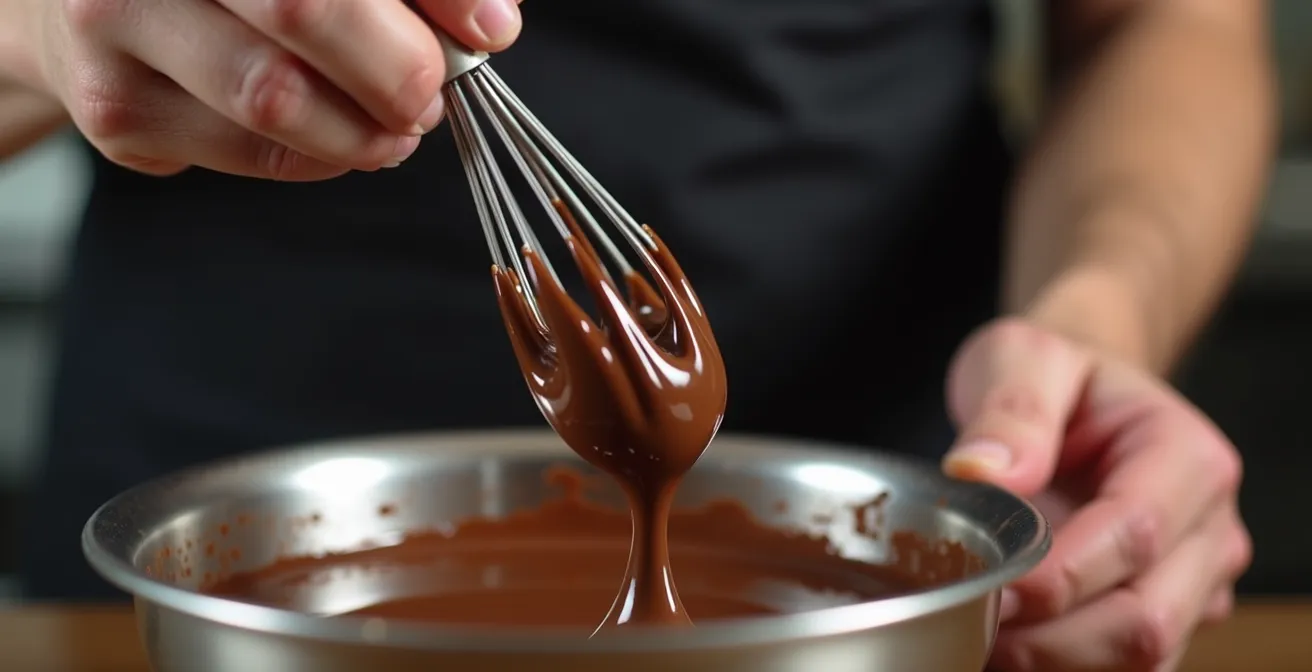
Only once this nucleus is perfectly emulsified do you begin to gradually incorporate more of the cream, still stirring from the center outwards. As you stir, the emulsion will “break” slightly at the edges before being pulled back into the stable center. This visual cue tells you the emulsion is strong and ready to accept more liquid. You continue this process, gradually adding the cream and expanding your stirring circles, until all the liquid is incorporated and you have a single, unified, glossy mixture. This method ensures you are always working with a stable core, giving you maximum control and preventing the catastrophic separation that happens when the system is flooded.
This technique provides the molecular friction necessary to properly disperse the fat droplets, ensuring a silky-smooth result every time. It’s the physical application of all the chemical principles we’ve discussed, turning abstract science into a reliable, hands-on technique.
Armed with this chemical understanding, your next step is to deliberately apply these principles in your kitchen. Approach your next ganache not as a recipe to be followed, but as a scientific process to be controlled, and you will achieve perfect results.
Frequently Asked Questions about Chocolate Ganache
What temperature should I use for delicate herbs like mint or verbena?
Use cold infusion at room temperature (20-22°C or 68-72°F) for 12-24 hours. This preserves the volatile aromatic compounds that would be destroyed by heat, ensuring a fresh, bright flavor in your final ganache.
How do I compensate for water loss during infusion?
After straining the herbs from the cream, it’s crucial to re-weigh the cream. Evaporation during heating or steeping can alter the liquid-to-chocolate ratio by up to 10%. Add a small amount of milk or water to restore the original weight and maintain the integrity of your recipe’s emulsion.
Why is double-straining through cheesecloth important?
Even after initial straining, tiny micro-particles from herbs can remain in the cream. These particles can act as unwanted “seeds” that disrupt the crystallization process as the ganache cools, leading to a grainy or lumpy texture even if the initial emulsion appears smooth. Double-straining through fine cheesecloth removes these particles and ensures a silky final product.