Contrary to popular belief, tasting fine chocolate isn’t a natural talent but a learned skill rooted in science.
- Your personal memories and nostalgia chemically prime your brain, directly altering how you perceive flavor.
- The true character of chocolate is unlocked through “retro-nasal olfaction”—smelling it from the back of your throat as it melts.
Recommendation: Instead of just letting it melt, consciously guide the melted chocolate across your tongue and exhale gently through your nose to reveal its hidden aromatic layers.
To the uninitiated, a square of dark chocolate is just… chocolate. It might be bitter, it might be sweet, but its story often ends there. Many believe that professional tasters are born with a superior palate, a gift for discerning notes of raspberry or leather that remain elusive to the rest of us. We are told to use our senses, to let it melt, and to avoid chewing. While correct, this advice merely scratches the surface. It’s the equivalent of telling someone to “hit the ball” to learn tennis—it misses the fundamental technique entirely.
The journey from passively eating to actively tasting is not about having a better tongue; it’s about having a better framework. It requires understanding the subtle interplay between your brain’s memory centers and your taste buds, a process deeply influenced by your personal history. It involves learning a new language of flavor, one that gives you the vocabulary to describe experiences you’ve had but couldn’t name. This is where the real art lies, in deconstructing the experience and appreciating the craftsmanship behind it.
This guide abandons the generic advice. Instead, we will approach tasting from a sommelier’s perspective, grounded in the science of perception and chemistry. The true key isn’t just *what* you do, but understanding *why* you’re doing it. We will build your “perceptual scaffolding” from the ground up, exploring the neuroscience of flavor, the chemistry of a chocolate’s finish, and the precise techniques for calibrating your palate. You will learn to transform a simple tasting into a rich, narrative experience, unlocking the complex story hidden within every single bar.
This article is structured to guide you through this sensory education. We’ll begin with your own mind and how it interprets flavor, then provide the tools and techniques to analyze the chocolate itself, and finally, show you how to apply this knowledge in real-world pairings and tastings.
Summary: A Sommelier’s Method for Deconstructing Chocolate Flavor
- Why Nostalgia Influences Your Perception of Chocolate Flavors?
- How to Use a Flavor Wheel to Describe What You Taste?
- Primary vs. Secondary Notes: Which One Lingers Longest on the Palate?
- The Tasting Mistake That Numbs Your Tongue After 3 Squares
- How to Pair Floral Chocolates with Tea Without Masking the Flavor?
- Why Does Great Chocolate Linger on Your Palate for 20 Minutes?
- In What Order Should You Taste 5 Different Chocolates to Avoid Confusion?
- How to Host a Blind Chocolate Tasting Party for under $100?
Why Nostalgia Influences Your Perception of Chocolate Flavors?
Before a piece of chocolate even touches your tongue, your brain has already decided what it might taste like. This isn’t a guess; it’s a deeply ingrained neurological process. The first step in tasting like an expert is to acknowledge that you are not a blank slate. Your flavor perception is powerfully shaped by nostalgia and memory. When you smell a familiar cocoa aroma, your brain doesn’t just register “chocolate”; it retrieves a lifetime of associated experiences, from childhood birthday cakes to holiday treats. This is more than a feeling; it’s a biological fact.
Neuroscience research confirms this profound link between memory and taste. In fact, studies show that nostalgia activates four key brain regions simultaneously, including the hippocampus (memory) and the substantia nigra/VTA (reward). This means the comforting memory of your grandmother’s baking is chemically priming your brain to experience pleasure before the tasting has even begun. This can be a powerful asset, making flavors seem richer and more profound. However, it can also be a bias, causing you to favor familiar, comforting profiles over more complex or challenging ones.
An expert taster learns to work with this phenomenon, not against it. They use a technique one might call perceptual scaffolding. By first identifying their own biases (“I tend to prefer nutty, roasted flavors because they remind me of…”), they can consciously set them aside. The goal isn’t to erase your memories but to recognize their influence, allowing you to assess the chocolate on its own merits. This self-awareness is the true foundation of objective tasting, turning your personal history from a potential bias into a rich library of comparative flavors.
How to Use a Flavor Wheel to Describe What You Taste?
You’ve let the chocolate melt. A wave of sensations washes over you, but when you try to describe it, the words fall short. Is it “fruity”? Or is it more specific, like “cherry”? This is where a flavor wheel becomes an indispensable tool. It’s not a cheat sheet; it’s a structured map for your senses, designed to translate vague impressions into precise language. A flavor wheel provides the vocabulary needed to build upon your newfound perceptual awareness.
The most effective flavor wheels are built on a system of layers, moving from general to specific. The inner circle contains broad categories like Fruity, Nutty, Floral, or Earthy. As you identify a general note—say, “fruity”—you move to the next layer, which offers more specific descriptors like “Citrus,” “Berry,” or “Dried Fruit.” The outermost layer provides the most granular detail, helping you distinguish between “grapefruit” and “lemon,” or “raisin” and “prune.” This structured process prevents you from getting lost and helps you articulate the flavor narrative of the chocolate as it evolves on your palate.
Case Study: Barry Callebaut’s Consumer Sensory Wheel
To make professional tasting more accessible, chocolate giant Barry Callebaut, in collaboration with flavor house Givaudan, developed a comprehensive Consumer Chocolate Sensory Wheel. It features 87 distinct descriptors covering flavor, texture, and aroma. The wheel is structured with 12 basic aroma descriptors and 10 mouthfeel terms in its inner layer, which then branch out to more specific notes. This system allows both beginners and experts to build a shared language, turning a subjective experience into a communicable analysis.
To use the wheel effectively, start by focusing on the aroma before tasting. Then, as the chocolate melts, focus on the dominant flavor family that emerges first. Pinpoint it on the wheel’s inner ring. As you continue to taste, letting air in through your mouth to encourage retro-nasal olfaction, try to follow the path outward to more specific terms. The goal isn’t to find every flavor on the wheel, but to find the *right* one that accurately describes your unique experience.
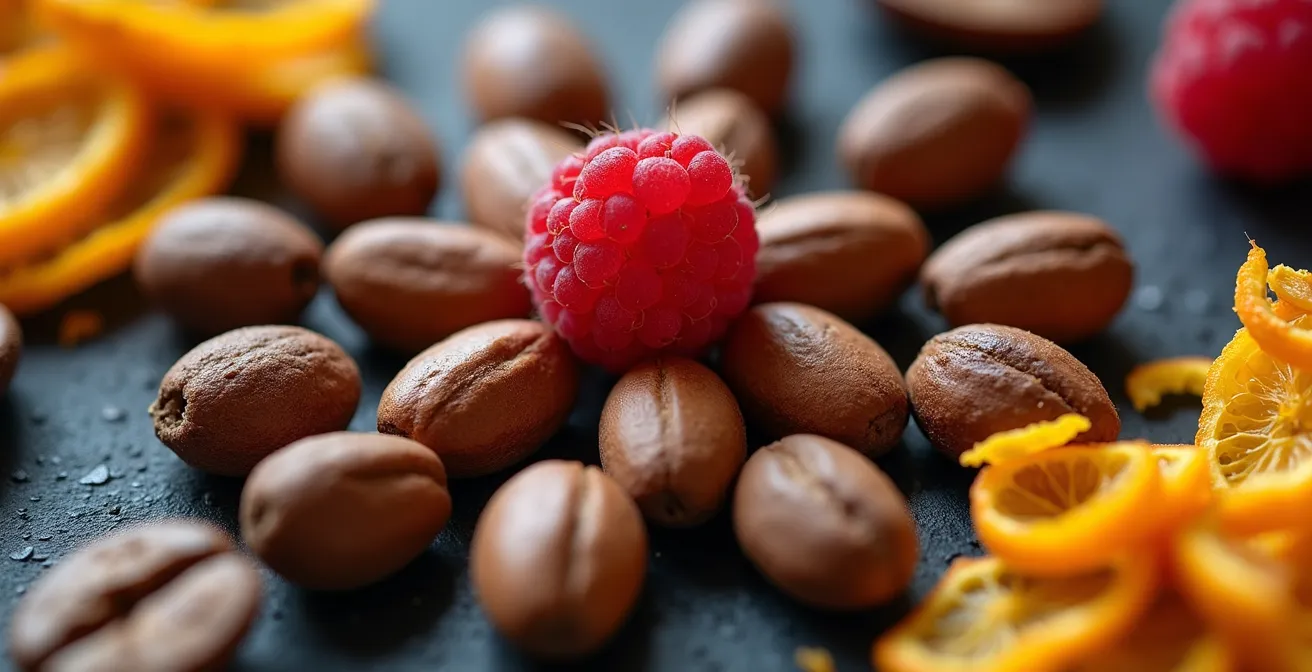
This visual arrangement of ingredients—cocoa, nuts, citrus—is a physical representation of a flavor wheel. It demonstrates how distinct primary notes combine to create a complex profile. Using such a tool trains your brain to connect a visual and a name to a specific taste, strengthening your sensory memory and making you a more confident and articulate taster over time.
Primary vs. Secondary Notes: Which One Lingers Longest on the Palate?
Tasting fine chocolate is like listening to a piece of music; it has an opening, a middle, and a finish. These are its primary and secondary notes. Primary notes are the bold, immediate flavors that hit your palate first. They are the top-line melody—bright, acidic, fruity, or floral notes derived directly from the cacao bean’s genetics and fermentation. They are often volatile and exciting, but can also be fleeting.
Secondary notes are the deeper, more resonant harmonies that develop as the chocolate melts and coats your tongue. These are the flavors of craftsmanship, born from the roasting and conching process. They include notes like coffee, caramel, nuts, and toasted bread. These flavors are created by complex chemical transformations, such as the Maillard reaction. As one expert explains, this process is key to developing the chocolate’s deep character.
Maillard Reactions convert tannins into neutral tasting phlobaphenes that result in less bitter / less astringent chocolate & produce aromatic chemicals such as aldehydes, pyrazines that contribute to flavor formation.
– Stacy Reed, C-Spot Chocolate Flavor Chemistry Research
So, which notes linger? Without a doubt, it is the secondary notes. The primary, volatile aromas may define the initial “attack,” but it’s the well-developed secondary and tertiary notes that create the long, satisfying finish. This incredible persistence is a hallmark of high-quality chocolate. While the flavor of many common foods may last for 30 seconds, a truly great chocolate’s flavor can continue to evolve on your palate for five minutes or even longer. This lingering finish, known as “length,” is what separates a good chocolate from an unforgettable one.
The Tasting Mistake That Numbs Your Tongue After 3 Squares
You’ve sourced three exceptional single-origin bars. The first is a revelation. The second is interesting. By the third, everything tastes… muted. The flavors have become muddled, and your tongue feels slightly coated and unresponsive. This is sensory fatigue, a common mistake that even enthusiastic beginners make. It’s caused by the buildup of cocoa butter and potent flavor compounds (tannins) on your taste buds, effectively numbing them.
The common advice is to “drink some water,” but the method is more specific than that. The temperature and what you consume are critical for a proper reset. Professionals refer to this as palate calibration rather than just cleansing. Consuming very cold products like iced water is a critical error. The cold can “anesthetize” your taste buds, as professional tasters at Kaoka warn, preventing the proper release of aromas in the next chocolate you taste. The goal is to dissolve residue without shocking your palate.
Effective palate calibration involves a multi-step process that addresses both taste and smell. It’s not just about washing away flavor; it’s about resetting your sensory receptors so the next chocolate can be experienced with the same clarity as the first. This protocol ensures each square is tasted on its own merits, preventing the ghost of the previous chocolate from influencing your perception of the next.
Your Palate Calibration Checklist: A Scientific Protocol
- Use Lukewarm Water: Sip lukewarm water (not cold) to gently dissolve cocoa butter residue without numbing your taste buds.
- Leverage Malic Acid: Take a small bite of a tart green apple. Its natural malic acid is a powerful cleanser that cuts through fats and resets your palate.
- Absorb Residual Oils: Eat a plain, unsalted water cracker. Its neutral flavor and dry texture act like a sponge, absorbing any remaining oils.
- Reset Olfactory Receptors: To clear lingering aromas, smell an un-perfumed patch of your own skin, like the crook of your elbow. This provides a neutral “baseline” scent for your brain.
How to Pair Floral Chocolates with Tea Without Masking the Flavor?
Pairing a delicate, floral chocolate—with its notes of jasmine, rose, or orange blossom—is a high-wire act. The wrong partner can completely obliterate its subtle aromatics. Many assume a strong, robust tea is needed to “stand up” to chocolate, but with floral varieties, the opposite is true. The goal is complementarity, not competition. You need a tea that will cleanse the palate and elevate the chocolate’s notes without introducing overpowering flavors of its own.
The secret lies in managing two key variables: tannins and temperature. Tannins are the compounds in tea that create an astringent, drying sensation. A highly tannic tea (like a long-steeped black tea) will clash with the chocolate’s own tannins, resulting in a bitter, muddled experience. Therefore, light, low-tannin teas are ideal partners. Think first-flush Darjeeling, a delicate white tea like Silver Needle, or a light-bodied green tea like Dragon Well. These teas have their own subtle floral or grassy notes that will harmonize with, rather than mask, the chocolate.
Temperature is the second critical element. Water that is too hot will scorch the delicate tea leaves, releasing excess tannins and bitterness. Likewise, a tea that is too hot when you sip it will overwhelm your taste buds. The perfect pairing involves a carefully controlled ritual that allows both the tea and the chocolate to express themselves fully, creating a third, synergistic flavor that is greater than the sum of its parts.
Temperature-Controlled Pairing Technique
- Heat water to 160-170°F (71-77°C), never boiling, for delicate teas.
- Steep the tea for a maximum of 2-3 minutes to minimize tannin extraction.
- Allow the tea to cool to around 140°F (60°C) before sipping, an optimal temperature for taste bud sensitivity.
- Take a small sip of tea, coating your entire palate to prepare it.
- Place a piece of the floral chocolate on your tongue and let it begin to melt into the warm tea coating.
- As the chocolate is melting, take a second, smaller sip of tea to amplify the aromatic unlocking.
- Wait at least 30 seconds between pairings to fully observe the evolving finish of the combination.
Why Does Great Chocolate Linger on Your Palate for 20 Minutes?
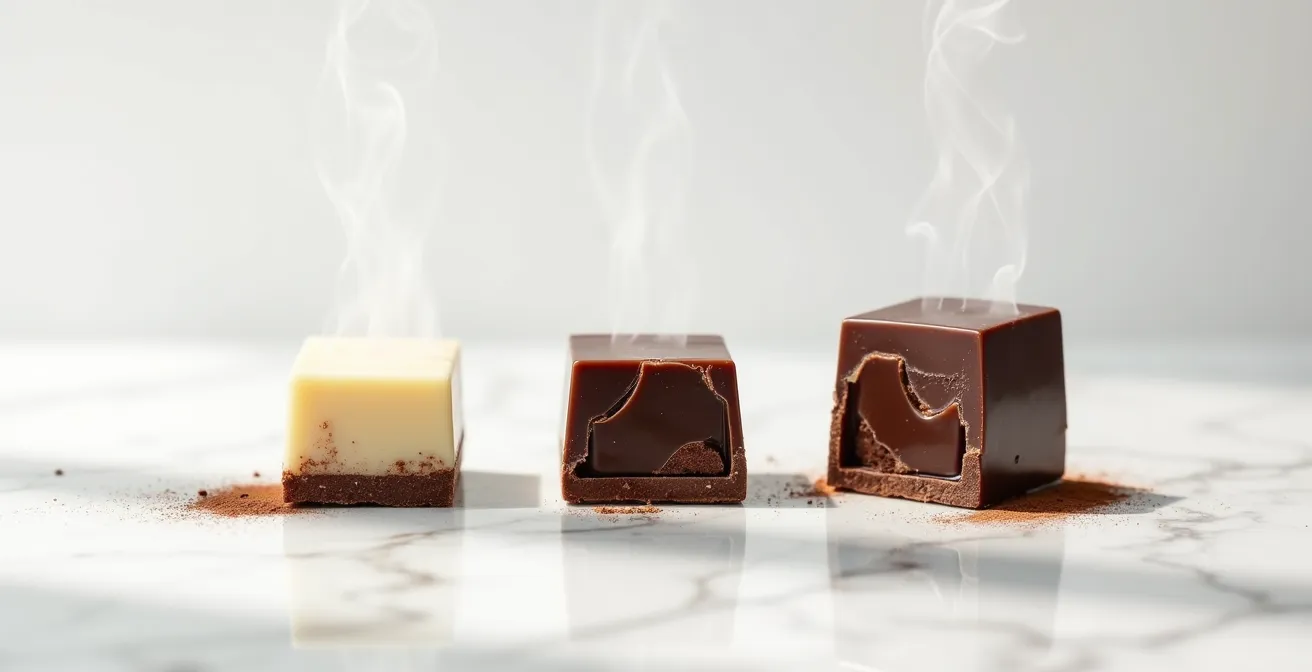
The most profound difference between an average chocolate bar and a world-class one is its “finish” or “length”—the way its flavor persists and evolves long after it has been swallowed. This remarkable longevity isn’t magic; it’s the direct result of meticulous science in both tempering and conching. It all starts with the physical structure of the cocoa butter.
Properly tempered chocolate is built upon a specific crystalline structure in the cocoa butter, known as Form V. This is the most stable and desirable of the six possible crystal forms. The stable Form V crystal structure has a very precise melting point, right around 93.2°F (34°C), which is just below human body temperature. This means that when you place it on your tongue, it doesn’t melt instantly and flood your palate. Instead, it melts slowly and evenly, releasing its trapped flavor compounds in a controlled, deliberate sequence. This slow, sustained melt is the foundation of a long finish.
The second pillar of a long finish is the conching process. Conching is a prolonged period of grinding and mixing that can last from 24 to 72 hours. During this time, two crucial things happen. First, undesirable volatile acids evaporate, smoothing out any harshness. Second, and more importantly for the finish, the microscopic cocoa particles become evenly and completely coated in cocoa butter. This creates what you could call tiny “flavor packets.” As the Form V crystals melt slowly on your tongue, these packets dissolve sequentially, releasing their flavor in waves. An unconched or poorly conched chocolate, by contrast, has “naked” particles that deliver a spiky, chaotic, and brief flavor burst.
This combination—the precise melting point of Form V crystals and the sequential flavor release from expertly conched particles—is the secret to the twenty-minute finish. It’s a flavor narrative designed by the chocolatier, a testament to their mastery over the material science of chocolate. It’s not just a taste; it’s a performance.
In What Order Should You Taste 5 Different Chocolates to Avoid Confusion?
Arranging a flight of chocolates for tasting requires the same strategic thinking as a sommelier sequencing wines. A poorly ordered tasting can lead to perceptual masking, where the intense flavors of one bar completely overwhelm the delicate notes of the next. To avoid this, professionals follow a strict protocol based on a hierarchy of criteria, ensuring each chocolate is given a fair chance to express its unique character.
The first and most important rule is to order by cacao percentage, from lowest to highest. Starting with a less intense chocolate (e.g., a 65% bar) and moving towards a more intense one (e.g., an 85% bar) prevents your palate from being saturated by the high concentration of tannins found in very dark chocolates. If you start with the 85% bar, the lingering astringency will make it nearly impossible to detect the subtler notes in the 65% bar that follows.
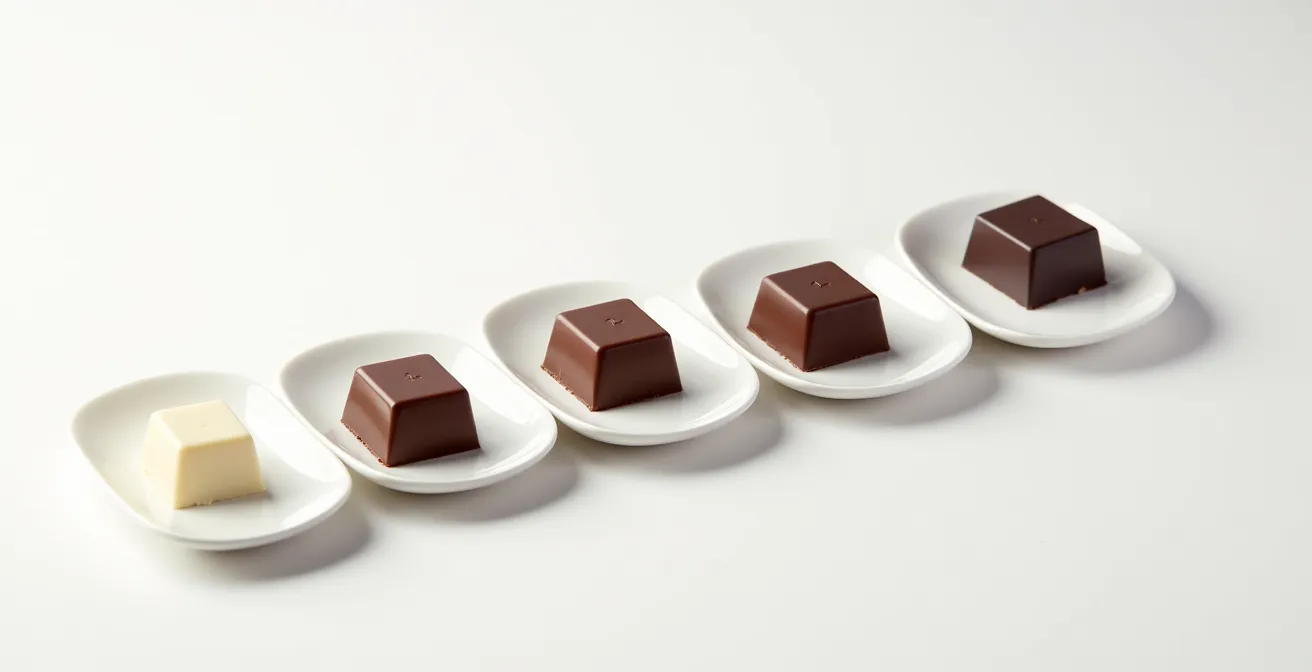
Within the same percentage, the next priority is aromatic intensity. You should progress from lighter, more volatile profiles to heavier, more robust ones. A typical order would be Floral → Fruity → Nutty → Roasted/Earthy. Starting with a delicate floral chocolate from Madagascar after tasting a deeply smoky one from Papua New Guinea would be a sensory dead end; the floral notes would be completely lost. Finally, when possible, grouping chocolates by geographic origin can help highlight the subtle nuances of terroir. To set a baseline, it’s often wise to begin the entire tasting with a familiar “calibration chocolate”—a good quality 70% bar whose profile you know well. This acts as a benchmark against which all other bars can be measured.
This methodical approach ensures a logical and revealing tasting journey. By controlling the sequence, you are not just tasting five random bars; you are creating a structured comparison that illuminates the distinct personality of each one. Below is a professional protocol for sequencing your tasting flight.
The following table, based on professional practices like those outlined by chocolatiers such as Dandelion Chocolate in their tasting kits, breaks down this hierarchy of tasting order.
| Priority Level | Ordering Criteria | Example Progression | Rationale |
|---|---|---|---|
| 1st Priority | Cacao Percentage (Low to High) | 45% → 60% → 70% → 85% | Prevents tannin saturation |
| 2nd Priority | Aromatic Intensity (within same %) | Floral → Fruity → Nutty → Roasted | Avoids perceptual masking |
| 3rd Priority | Geographic Grouping | Madagascar → Ghana → Ecuador | Highlights terroir nuances |
| Calibration | Start with familiar 70% baseline | Known reference chocolate | Sets palate benchmark |
Key Takeaways
- Tasting is an active skill: It relies on understanding the science of perception, not just passive sensing.
- Structure is everything: Use a flavor wheel for vocabulary and a strict tasting order (low to high %) to avoid palate fatigue.
- Quality is in the finish: The length and complexity of a chocolate’s aftertaste are direct results of scientific tempering (Form V crystals) and conching.
How to Host a Blind Chocolate Tasting Party for under $100?
Putting your new skills to the test in a social setting is the most rewarding way to solidify your knowledge. A blind tasting party demystifies fine chocolate for your friends and turns an educational experience into a fun, interactive event. The “blind” aspect is crucial; it removes all preconceptions tied to branding, packaging, or percentage, forcing everyone to rely solely on their senses. And contrary to what you might think, hosting a memorable event for a group of friends doesn’t require a sommelier’s budget.
The key to a successful and affordable tasting is smart sourcing and focusing on the essentials. You don’t need a dozen different bars. Select three to five high-quality, single-origin bars that represent distinct flavor profiles—for example, one markedly fruity (like from Madagascar), one nutty/caramel (like from Ghana), and one earthy/smoky (like from Ecuador). These provide a clear contrast for beginners to identify. The rest of the budget goes towards the necessary tools for a professional setup: palate cleansers and tasting guides.
The structure of the event should follow a three-act model, as perfected by professional tasting classes. First, a silent tasting where guests sample each numbered chocolate and jot down their own notes using a printed flavor wheel. Second, a group discussion where everyone shares their perceptions—this is often the most fun and surprising part. Finally, the “reveal,” where you unveil the origins and stories behind each bar. This turns a simple party into a shared journey of discovery.
To stay under budget, focus on quality over quantity. The table below outlines a sample budget for a party of eight guests, proving that a sophisticated experience is well within reach. The plan is based on cost-effective sourcing strategies similar to those used in curated virtual tasting kits.
| Item | Quantity | Cost | Purpose |
|---|---|---|---|
| Single-origin bars (3 types) | 3 bars x 70g | $45-60 | Fruity, Nutty, Earthy profiles |
| Tasting cups/plates | 24 small plates | $10 | Blind presentation |
| Green apples | 4 apples | $5 | Palate cleanser |
| Water crackers | 2 boxes | $8 | Neutral base |
| Flavor wheel printouts | 8 copies | $5 | Tasting guidance |
| Number labels | 1 pack | $3 | Blind identification |
| Total | – | $76-91 | Complete setup |
With this framework, you are now equipped to move beyond simply eating chocolate and begin the lifelong journey of truly tasting it. Start by selecting three distinct bars, gather a few friends, and embark on your first guided exploration of flavor.