Making your own chocolate is not a cost-saving measure; it’s a value-investing strategy where the financial outlay is often higher, but the total return on investment (ROI) is vastly superior.
- The initial equipment investment and the rising cost of quality cocoa beans often make the per-bar cost higher than store-bought options.
- The true “profit” comes from non-financial dividends: superior quality, health benefits from controlled ingredients, and the immense perceived value of a handmade gift.
Recommendation: Instead of viewing it as an expense to be minimized, approach homemade chocolate as a long-term investment in a high-value skill and a deeply rewarding experience.
For any dedicated DIY enthusiast, the question inevitably arises: is it actually cheaper to make it yourself? When it comes to chocolate, a product that ranges from a cheap checkout-lane candy to a luxury artisanal good, the answer seems tantalizingly close. The common assumption is that by cutting out the middleman and the fancy packaging, you can produce a superior product for less. You might see the price of a high-end chocolate bar and think, “I could make that for a fraction of the cost.” This line of thinking focuses purely on the raw material-to-final-product equation, a common starting point for any profitability analysis.
However, this simple calculation overlooks several critical variables that a true domestic financial analyst would never ignore. It fails to account for the initial capital expenditure on specialized equipment, the fluctuating and often high cost of quality raw ingredients, the value of your own labor, and the unavoidable rate of “product loss” through experimentation and error. More importantly, it completely misses the other side of the ledger: the non-financial returns. These “hidden dividends”—like radical improvements in quality, tangible health benefits, and the powerful emotional equity of a handmade gift—are essential to calculating the project’s true worth.
The real question isn’t just “is it cheaper?” but “does it provide a better return on investment?” This guide moves beyond a simple cost comparison. We will deconstruct the full economic and emotional equation of making chocolate at home. We will analyze your labor as a cost, explore the hidden value in quality and health, quantify the impact of professional presentation, and map out the long-term investment in what could become a masterful skill. This is your comprehensive balance sheet for the true value of homemade chocolate.
To provide a clear and structured analysis, this article breaks down the total value proposition of homemade chocolate. Follow along as we dissect each component of the investment, from initial costs to long-term returns.
Summary: A Complete Cost-Benefit Analysis of Homemade Chocolate
- How to Price Your Labor in Homemade Chocolate Batches?
- Why Homemade Nutella Is Healthier Despite the Sugar Content?
- How to Design Labels That Make Homemade Gifts Look Pro?
- The Batching Mistake That Leaves You with Unusable Scraps
- Preservative-Free: How Long Does Homemade Truffle Really Last?
- What Really Happens During the 30-Day Journey from Tree to Bar?
- How to Achieve the Perfect “Velvet” Texture on Homemade Truffles?
- What Does It Take to Become a Master Chocolatier in 2024?
How to Price Your Labor in Homemade Chocolate Batches?
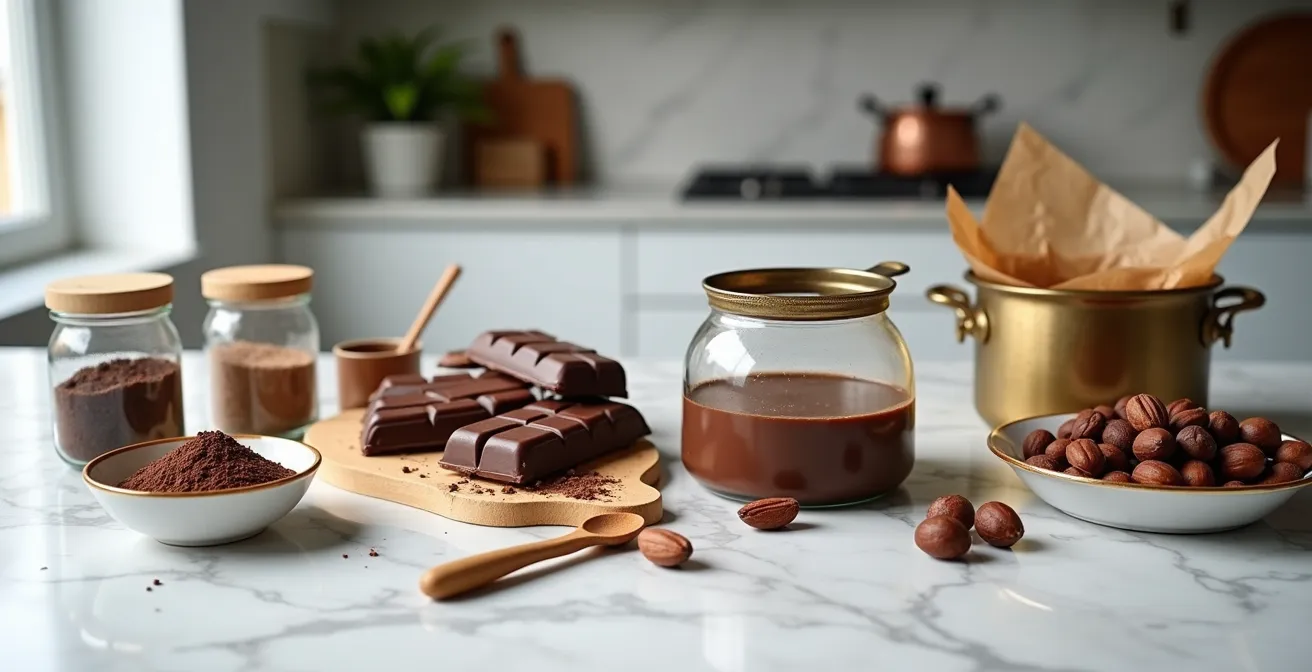
The most significant cost that amateur chocolatiers fail to account for is their own time. A purely financial analysis would render most hobbies unprofitable, but to understand the true cost, we must assign a value to our labor. Before even melting your first bean, a baseline investment is required. The initial setup for quality home chocolate making demands more than just a pot and a spoon; grinders, melangers, and accurate thermometers are essential. A realistic entry point for this equipment often starts at $250-350, according to Chocolate Alchemy’s cost analysis. This is your initial capital expenditure.
With that sunk cost established, you must then consider the operational cost of your time. There are three primary models for valuing your labor in a DIY project:
- The Hobbyist Model: Here, you assign a $0 labor cost. The process itself is the reward. The joy, relaxation, and satisfaction derived from creating are your payment. This is a valid emotional accounting method, but it’s not a financial one.
- The Freelancer Model: Apply your professional hourly rate, or a standard freelance rate (e.g., $25/hour), to the time spent. If a batch takes 5 hours, you’ve just added $125 to its cost. This reveals the true economic trade-off you’re making.
- The Opportunity Cost Model: This is the most rigorous model. It asks: what else could you have accomplished with those 5 hours? Could you have worked, learned another skill, or handled other household tasks? This model frames the “cost” as the value of the next-best alternative you’ve given up.
Ultimately, the “correct” model depends on your goal. If it’s pure enjoyment, the Hobbyist Model works. If it’s a serious analysis, the Freelancer or Opportunity Cost models provide a sobering but realistic look at where your resources are going. This calculation helps you understand that you’re not saving money; you’re investing time to create a different kind of value.
Why Homemade Nutella Is Healthier Despite the Sugar Content?
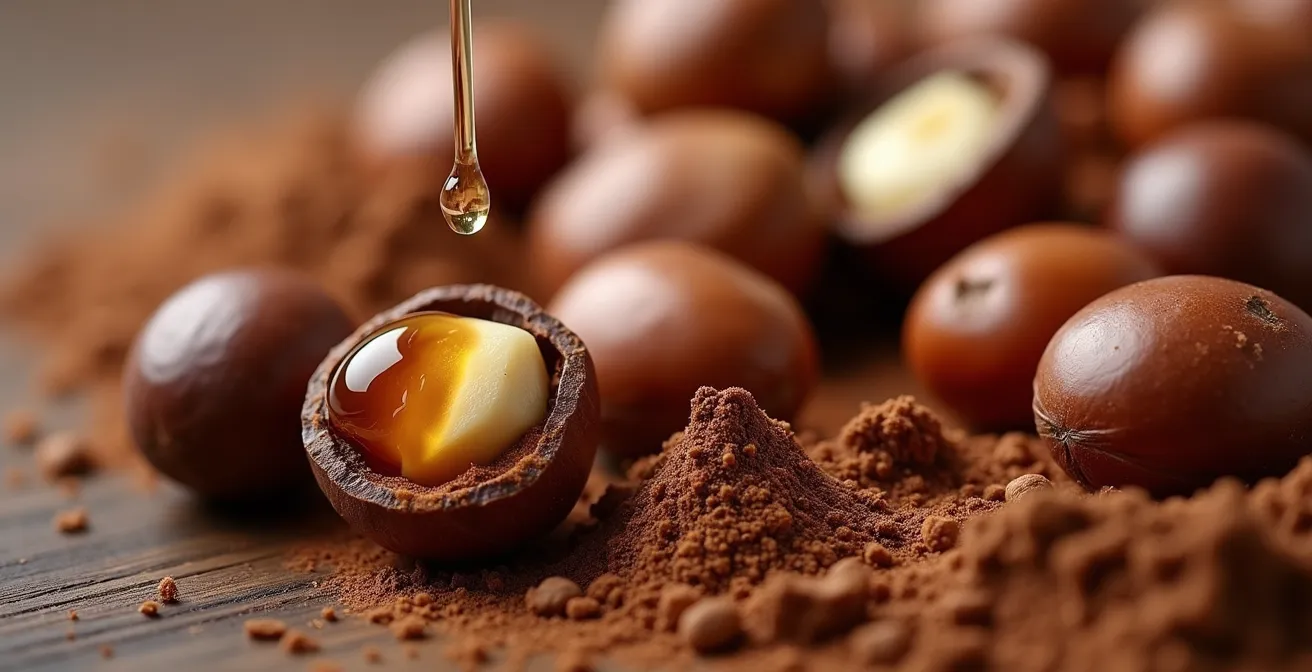
One of the most compelling “hidden dividends” of making your own chocolate products is the control over ingredients, which translates directly into a health benefit. A perfect case study is homemade “Nutella.” While the core ingredients—hazelnuts, cocoa, and a sweetener—remain, the creator has complete authority over their quality and quantity. Commercial spreads are often criticized for their high sugar content and the use of palm oil. By making it at home, you can substitute refined sugar for alternatives like maple syrup or dates and use nutrient-dense fats from the nuts themselves.
The nutritional results are striking. A well-formulated homemade version can deliver the same decadent experience with a much healthier profile. For instance, it’s possible to create a spread with 50% fewer calories per serving, as demonstrated in this popular healthy Nutella recipe. This isn’t just a marginal improvement; it’s a significant nutritional upgrade. Per serving, a homemade spread might contain around 97 calories, 9 grams of healthy fats, and 3 grams of protein, often with zero grams of added refined sugar. This stands in stark contrast to commercial versions, where sugar is frequently the primary ingredient.
This control represents a tangible return on your investment. You are not just creating a treat; you are producing a nutritionally superior asset. While the raw hazelnuts and pure cocoa powder may cost more upfront than a jar of the store-bought equivalent, you are effectively “paying” for the removal of undesirable ingredients. This health dividend is a powerful component of the total value equation, especially for those with specific dietary goals or concerns.
How to Design Labels That Make Homemade Gifts Look Pro?
The economic value of homemade chocolate isn’t just in its consumption; it’s also in its potential as a high-value gift. Here, we enter the realm of perceived value, where presentation is everything. A delicious truffle handed over in a plastic sandwich bag has a vastly different emotional and perceived worth than the exact same truffle presented in a professional-looking box with a well-designed label. This difference is not just aesthetic; it’s a quantifiable multiplier on your investment.
The right packaging elevates your creation from a “craft” to an “artisanal product.” Key elements to include are a batch number and production date for authenticity, the single-origin cacao percentage to communicate quality, and brief tasting notes (e.g., “hints of cherry and coffee”) to educate the recipient. A minimalist design with a limited color palette often signals sophistication more effectively than a busy one. These small details require minimal financial outlay but have an outsized impact on how the gift is received. The goal is to create an “emotional asset“—an object whose value far exceeds its material cost.
This increase in perceived value can be surprisingly dramatic. A simple switch from a basic bag to thoughtful packaging can exponentially increase the perceived worth of your efforts. Consider this breakdown of how packaging choices impact the final product’s value.
| Packaging Element | Cost | Perceived Value Increase |
|---|---|---|
| Basic plastic bag | $0.10 | Baseline |
| Brown paper + twine | $0.30 | +50% perceived value |
| Professional label + box | $0.50 | +200% perceived value |
| Batch numbering system | $0.00 | +25% artisanal perception |
As the data shows, an additional investment of just $0.40 to move from a plastic bag to a professional label and box can triple the perceived value of your creation. This is an incredible return on investment. By mastering a few simple design principles, you transform your labor and ingredient costs into a gift that feels luxurious, personal, and priceless.
The Batching Mistake That Leaves You with Unusable Scraps
A crucial factor in any financial analysis is managing loss. In chocolate making, the most common source of financial leakage is waste—specifically, leftover tempered chocolate and unusable scraps from poorly planned batches. When you finish a project and are left with an awkward amount of chocolate that’s too little for a new mold but too much to discard, you’ve encountered a direct hit to your profitability. Experienced makers report that a 10% typical waste, which experienced home chocolatiers report as common batch loss, is not uncommon, especially in the beginning. On a $20 batch of ingredients, that’s $2 lost every time.
The primary mistake is failing to pre-calculate the required volume. Before you even start melting, you should know the exact volume of your molds and plan your batch size accordingly. Pouring with abandon is a recipe for either a shortfall or a costly surplus. This “cost of inefficiency” can be mitigated with a zero-waste mindset. Leftover chocolate isn’t trash; it’s an ingredient for another product. Creating a hierarchy for scrap utilization is key to maximizing the return on every gram of your expensive cocoa.
Smart chocolatiers have a plan for every drop. Level one is simple: remelt scraps for dipping fruits or pretzels. Level two involves chopping cooled scraps into chunks for cookies or brownies. The pro move, level three, is to create entirely new products like mendiants (chocolate discs topped with nuts and dried fruit) or chocolate bark from the leftovers. This turns potential waste into another high-value asset. With the right techniques, you can drive your waste percentage close to zero.
Action Plan: Zero-Waste Chocolate Batching
- Volume Calculation: Before melting, fill your molds with water and pour it into a measuring cup to determine the exact volume needed for your batch.
- Level 1 Scrap Use (Dipping): Remelt any small amounts of leftover chocolate to use as a coating for strawberries, pretzels, or biscuits.
- Level 2 Scrap Use (Inclusions): Let leftover chocolate harden on parchment paper, then chop it into chunks to be used in cookie dough, brownie batter, or as an ice cream topping.
- Level 3 Pro Move (New Products): Use larger amounts of leftover chocolate to create mendiants or chocolate bark by spreading it thin and topping with nuts, seeds, and dried fruit.
- Emergency Recovery (Seized Chocolate): If your chocolate seizes (becomes thick and grainy), don’t throw it away. Add a small amount of hot cream or oil and stir vigorously to turn it into a ganache or chocolate sauce.
Preservative-Free: How Long Does Homemade Truffle Really Last?
A significant advantage of homemade chocolates is the absence of artificial preservatives. This aligns with a healthier, “clean eating” approach but introduces a practical limitation that affects their value: shelf life. Unlike commercial products engineered for longevity, the lifespan of your preservative-free creations is finite and highly dependent on their composition and storage. Understanding this is crucial for managing your “inventory” and ensuring the quality of the final product isn’t compromised.
The primary factor determining shelf life is water activity. Ganache-based creations like truffles, which contain cream or milk, are the most perishable. They are a prime environment for bacterial growth and must be handled with care. Generally, these truffles should be stored in an airtight container in the refrigerator and are best consumed within one to two weeks. Leaving them at room temperature for more than a day is not recommended. For serving, they should be brought to room temperature for about 20-30 minutes to allow the flavors and texture to soften.
Solid chocolate bars or items without dairy have a much longer shelf life, lasting for several weeks or even months if stored correctly in a cool, dark, and dry place. However, freezing, while a viable long-term storage option for many types of chocolate, can be problematic for delicate items like truffles. The process can cause textural changes and lead to condensation (“sugar bloom”) upon thawing, which can ruin the perfect velvet finish you worked so hard to achieve. Therefore, while making preservative-free chocolate is a “health dividend,” it requires active management and an understanding that you are creating a fresh, perishable food item, not a shelf-stable commodity.
What Really Happens During the 30-Day Journey from Tree to Bar?
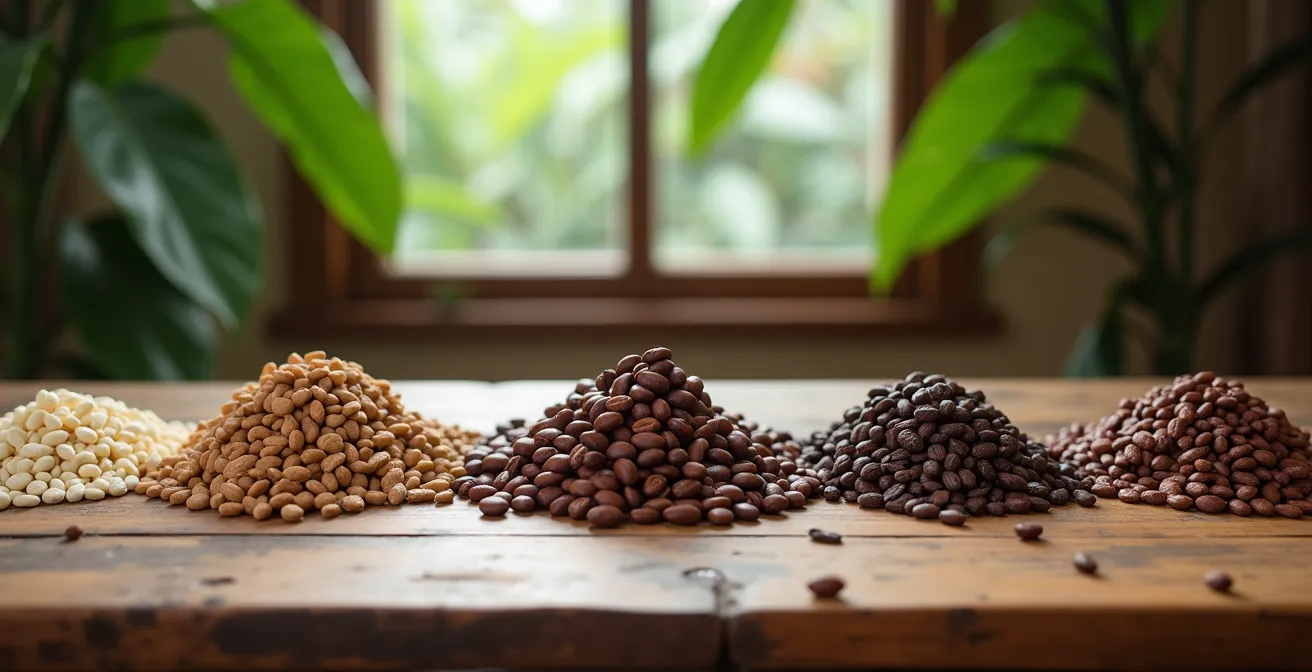
To accurately assess the cost of homemade chocolate, we must first understand the value of its primary ingredient: the cocoa bean. The price you pay for high-quality couverture or raw beans is not arbitrary; it’s the culmination of a long, labor-intensive, and increasingly volatile global supply chain. From the moment a cocoa pod is harvested to when it becomes a solid bar, it undergoes a complex journey of fermentation, drying, roasting, and grinding that shapes its final flavor and cost.
This journey is under significant economic pressure. Recently, the cocoa market has experienced unprecedented turmoil. About 75% of the world’s cocoa originates from West Africa, primarily Côte d’Ivoire and Ghana. These regions are currently battling a perfect storm of severe weather events, the devastating “swollen shoot” crop disease, and environmental damage from illegal mining operations that are destroying cocoa farms. This crisis has had a dramatic impact on global supply, with commodity prices soaring. In fact, the market has seen a staggering 90% price increase, with cocoa commodity prices hitting historic highs in 2024. This macroeconomic reality directly affects the home chocolatier, making high-quality beans a significantly more expensive input than in previous years.
When you choose to make chocolate from the bean, you are stepping into this complex world. The price reflects not just the bean itself, but the intricate processes of fermentation and drying that are essential for developing its rich flavor profile. These are not simple steps; they are artisanal processes that require expertise and time. This context is vital for the DIY analyst: the high cost of your primary ingredient is a reflection of its true agricultural and artisanal value. You are not just buying a commodity; you are investing in a fragile and complex agricultural product.
How to Achieve the Perfect “Velvet” Texture on Homemade Truffles?
If the financial cost of homemade chocolate is often higher, then its value must be justified by a superior product. This is where quality, particularly texture, becomes a critical component of your total ROI. One of the most sought-after textures is the “velvet” finish on a truffle—a smooth, delicate, and ultra-fine coating of cocoa powder that melts instantly on the tongue. This is not achieved by chance; it’s the result of precise technique and temperature control, something mass production often compromises.
The foundation of any great chocolate texture is proper tempering. Tempering is the process of heating and cooling chocolate to specific temperatures to stabilize the cocoa butter crystals. This ensures a glossy finish, a satisfying “snap,” and a smooth mouthfeel. Without it, chocolate can be grainy, dull, and soft at room temperature. An expert offers a straightforward method to check your work:
Test the temper of chocolate by dipping a metal spatula into the chocolate. Remove excess and set aside at room temperature. In 3-5 minutes, the chocolate should harden and look shiny.
– Professional Chocolatier, Chocolate Making Tips Guide
For truffles, achieving the velvet texture goes beyond just tempering the shell. The ganache filling must be perfectly emulsified, which requires maintaining a mixing temperature of exactly 95°F. For the final coating, the cocoa powder must be sifted at least three times to remove any lumps and achieve an airborne fineness. The truffles should then be rolled in this ultra-fine powder when the ganache is cool and firm (around 65-70°F) but still tacky enough for the powder to adhere perfectly. This meticulous process is what creates the signature texture that separates an amateur truffle from a professional one. It is a “quality dividend” that you directly create through skill, not just by buying expensive ingredients.
Key Takeaways
- Making chocolate at home is an investment in quality and skill, not a cost-saving tactic. The financial breakeven is unlikely.
- The true “profit” is measured in non-financial returns: superior health from controlled ingredients, the emotional value of artisanal gifts, and the deep satisfaction of mastery.
- Success requires a business-like approach to a hobby: valuing your time, minimizing waste, and understanding the market forces that dictate ingredient costs.
What Does It Take to Become a Master Chocolatier in 2024?
Ultimately, deciding to make your own chocolate is a long-term investment decision. It’s less about the cost of a single bar and more about the acquisition of “skill capital.” Becoming proficient, let alone a master, is a journey that requires a significant investment of both time and money. The path is incremental, moving from basic melting and molding to the complex science of ganache and eventually, the holy grail of bean-to-bar production. Each level demands more sophisticated equipment and, more importantly, a deeper understanding of the craft.
This progression can be mapped out like a career path, with clear stages of investment and skill development. The initial foray might cost under $100, but reaching an expert level where you control every step from the bean can easily require an investment of over $1000. This deliberate build-up of knowledge and capability is where the real value lies for a true DIY enthusiast.
Investment Analysis: The True Motivation for Homemade Craft
The parallel to home espresso making is a powerful one. As one expert notes, people who spend $400-$1500 on high-end espresso machines are not doing it to save money on lattes. They are investing in the pursuit of a superior product, tailored exactly to their preferences. The motivation is quality and control, not cost savings. Making chocolate at home operates on the exact same principle: it’s about creating a product with the potential to be vastly superior to mass-market options, made precisely how you want it.
This table outlines the typical journey, showing how both financial and time commitments increase as you deepen your expertise.
| Level | Skills | Investment | Time to Master |
|---|---|---|---|
| Level 1: Basic | Melting & Molding | $50-100 | 1-2 weeks |
| Level 2: Intermediate | Tempering | $200-300 | 2-3 months |
| Level 3: Advanced | Ganache Science | $300-500 | 6-12 months |
| Level 4: Expert | Bean-to-Bar | $1000+ | 2+ years |
So, while making your own chocolate is rarely cheaper from a purely financial standpoint, its Total Return on Investment is immense. By approaching it as a serious craft, you are not just making a confection; you are investing in your health, your relationships, and a deeply rewarding skill. For the dedicated DIY analyst, the final balance sheet shows a clear and compelling profit.
Frequently Asked Questions About Homemade Chocolate
What’s the best storage method for preservative-free truffles?
Store them in an airtight container in the refrigerator for up to 2 weeks. It is best to bring them to room temperature for about 20-30 minutes before serving to optimize their flavor and texture.
How does freezing affect chocolate texture?
While freezing can preserve chocolate for several months, it is not ideal for all types. The process can cause unwanted texture changes, particularly in delicate items like ganache truffles, and may lead to condensation and sugar bloom when the chocolate is thawed.
How long do homemade chocolates last at room temperature?
This depends entirely on the type. Solid chocolate bars can last for weeks, but dairy-based items like truffles are much more perishable and should not be left at room temperature for extended periods. Chocolates left in the refrigerator for too long can also become sticky, so they should be removed as soon as they have fully hardened.