The key to a perfectly light yet stable chocolate mousse lies not in recipes, but in mastering the scientific principles of aeration and emulsion. This guide moves beyond generic advice to focus on the critical interplay of temperature control, fat crystal networks, and protein structures. By understanding how these elements interact at a molecular level, you can reliably create a flawless, cloud-like texture that holds its form from the mixing bowl to the final dessert.
For any pastry chef, the pursuit of the perfect chocolate mousse is a defining challenge. We all strive for that ethereal, cloud-like texture—intensely aerated, yet rich and structurally sound. Too often, the result is a compromise: a mousse that is either dense and heavy or light but tragically unstable, collapsing into a grainy puddle. The common advice to “fold gently” or “use good chocolate” barely scratches the surface of the complex physics and chemistry at play. The reality is, a great mousse is not a matter of luck; it’s a matter of control.
The secret to transcending these common frustrations lies in shifting perspective from a home cook to a food scientist. We must think in terms of emulsion science, fat crystal networks, and the precise denaturation of proteins. Achieving a stable, aerated structure is a delicate balancing act between fat, water, air, and temperature. It involves not just whipping cream, but building a robust lattice of fat globules capable of trapping air. It’s not just melting chocolate, but tempering it to a precise state where its crystalline structure supports, rather than sabotages, the emulsion.
This guide deconstructs the process, moving beyond simple steps to explore the foundational principles. We will examine how different texturizers impact flavor, decode the critical stages of whipping cream, and demystify the temperature control that separates a silky mousse from a gritty failure. By mastering these underlying mechanics, you will gain the ability to troubleshoot and adapt, consistently producing chocolate fillings with impeccable lightness and unwavering stability.
To navigate this deep dive into the science of aeration, this article is structured to address the most critical technical challenges a pastry professional faces. The following sections break down each crucial step, providing the scientific “why” behind the expert “how.”
Summary: The Science of Aeration: How to Build a Stable Chocolate Mousse That Won’t Collapse
- Gelatin vs. Agar: Which Texturizer Releases Flavor Better?
- Soft Peaks vs. Stiff Peaks: When to Stop for Mousse Folding?
- How to Make Instant Aerated Chocolate Foam safely?
- The Temperature Mistake That Makes Creamy Fillings Gritty
- How to Fill Puffs Without Bursting the Shell?
- How to Encapsulate Liquid Fruit Coulis Inside a Thin Shell?
- How to Create Clean Layers in Entremets for Perfect Cross-Sections?
- Mousse vs. Jelly: How to Stack Textures Without Sliding?
Gelatin vs. Agar: Which Texturizer Releases Flavor Better?
The choice between gelatin and agar-agar as a stabilizer is one of the most significant decisions in crafting a high-end mousse, with profound implications for both texture and flavor perception. The key difference lies in their melting points. Gelatin, an animal-based protein, provides a uniquely luxurious, melt-in-the-mouth texture because its melting point is close to body temperature. According to modernist culinary science, gelatin melts around 97°F (36°C), which means it liquefies almost instantly in the mouth. This rapid phase change provides an immediate and full release of volatile flavor compounds, allowing the nuances of the chocolate to shine.
Agar-agar, a plant-based hydrocolloid derived from seaweed, behaves very differently. It creates a much firmer, more brittle gel that melts at a significantly higher temperature, typically around 185°F (85°C). While this makes it exceptionally heat-stable and a vital tool for vegan pastry, it can hinder flavor release. The structure of an agar gel can physically trap flavor molecules, requiring the heat and mechanical action of chewing to break them down. This can result in a perception of a “duller” or more muted flavor profile compared to an identical recipe using gelatin. Therefore, for a classic, non-vegan chocolate mousse where the primary goal is flavor fidelity and a creamy texture, gelatin is the superior choice for flavor release.
The following table breaks down the fundamental properties that dictate the function and sensory experience of these two essential gelling agents.
| Property | Gelatin | Agar |
|---|---|---|
| Origin | Animal-based (collagen) | Plant-based (red algae) |
| Setting Temperature | 59-68°F (15-20°C) | 86-105°F (30-40°C) |
| Melting Point | Near body temperature (95°F) | 150-160°F (65-72°C) |
| Texture | Soft, melt-in-mouth | Firmer, more brittle |
| Flavor Release | Immediate and full | Can trap flavors |
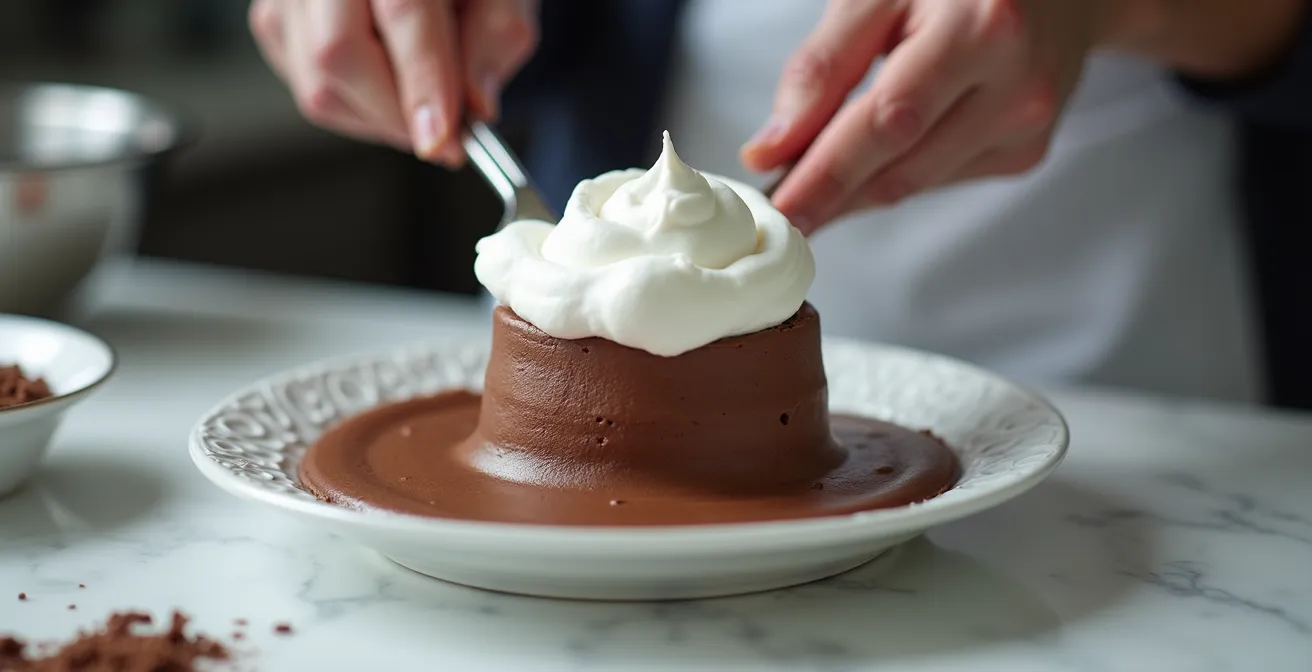
Soft Peaks vs. Stiff Peaks: When to Stop for Mousse Folding?
The stage to which you whip your cream is not a matter of preference; it is the single most critical factor in determining the final density and aeration of your mousse. The goal is to create a stable foam, a delicate structure of fat globules surrounding air bubbles, that is flexible enough to incorporate the chocolate base without breaking. This is where the distinction between soft, medium, and stiff peaks becomes paramount. For a chocolate mousse, you are almost always aiming for soft to medium peaks. At this stage, the cream has volume and structure, but the protein and fat network is still pliable. The peaks will hold their shape briefly before gently curling over—a sign of elasticity.
Pushing the cream to stiff peaks is a common and critical error. While stiff peaks seem desirable for their volume, they represent a structure that has become rigid and brittle. The fat globules have clumped together too tightly, and the foam has lost its flexibility. When you attempt to fold this rigid foam into a dense chocolate base, the structure shatters. Instead of a gentle incorporation, you get a mechanical breakage, forcing out the air you just worked to incorporate. This leads to a dense, heavy mousse and can even cause the emulsion to split, resulting in a greasy texture. The ideal moment to stop whipping is when the whisk leaves clear trails and the peaks are defined but still soft and drooping. This ensures the foam is strong enough to lift the chocolate but supple enough to fold without collapsing.
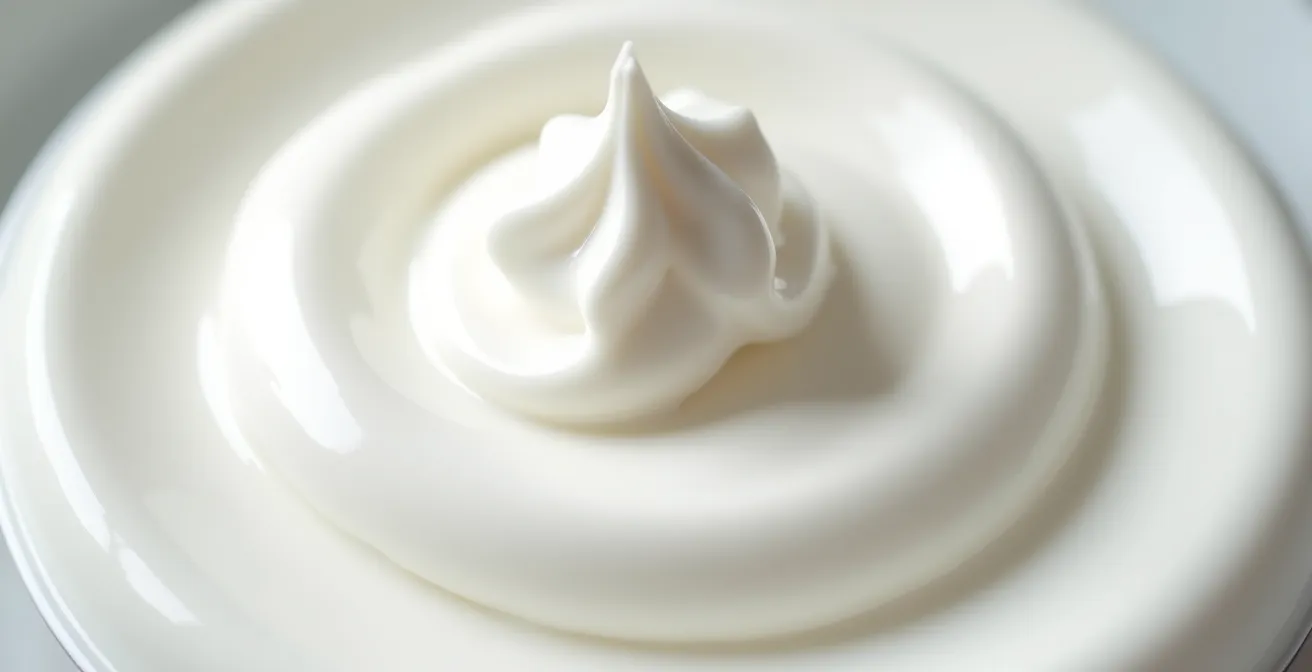
The image above illustrates the perfect glossy surface and gentle curves of cream whipped to the soft peak stage. This texture is strong enough to hold air but fluid enough to fold into the chocolate base, creating a seamless, aerated emulsion. It’s a visual cue that the fat and protein network is optimally prepared for incorporation.
How to Make Instant Aerated Chocolate Foam safely?
Creating a highly aerated chocolate foam, often for modernist plating or as a light topping, requires techniques that go beyond traditional whipping. One of the most effective methods for achieving an “instant” and stable foam is using a vacuum chamber. This technique, popular in molecular gastronomy, leverages pressure dynamics to rapidly expand the air bubbles already present in a mousse base. By placing a smooth mousse base in a vacuum container, the reduction in atmospheric pressure causes the air bubbles to swell dramatically, creating a super-light, almost ethereal texture in seconds. The key is to stop the vacuum process the moment the foam reaches the desired volume to prevent it from collapsing.
However, with any foam, especially those using egg, safety is paramount. Many instant foam techniques may not involve a full cooking process, making pasteurization a critical consideration to eliminate the risk of pathogens like Salmonella. As a definitive safety measure, a base mixture containing eggs should be properly pasteurized. According to technical guidance for pasteurization, the standard practice is to heat the mixture to a precise temperature for a specific duration.
Heating the mixture to 72°C (161°F) for 15 seconds
– Article on foam safety, Technical guidance for pasteurization
This step ensures the base is safe before it undergoes aeration, whether by traditional whipping or advanced vacuum methods. This allows for the creation of innovative textures without compromising food safety standards.
Case Study: Vacuum-Sealed White Chocolate Sponge Technique
Chef Irvin Van Oordt’s method demonstrates a practical application of vacuum aeration. He places 300g of chocolate mousse in a vacuum-seal container in an even layer. As the vacuum sequence begins, the mousse rises dramatically. The process is stopped just before it overflows, and the container is sealed to lock in the aerated structure. The foam is then frozen for at least 3 hours, solidifying the delicate texture into a stable “sponge” that can be cut and served.
The Temperature Mistake That Makes Creamy Fillings Gritty
A gritty or grainy chocolate mousse is almost always the result of a temperature-related catastrophe, specifically, thermal shock. This occurs when two components at drastically different temperatures are combined. The most common scenario is folding cold whipped cream into a chocolate base that is still too warm. When the cold cream hits the warm chocolate, it causes the cocoa butter in the chocolate to seize and crystallize instantly and unevenly. These tiny, hard crystals of cocoa butter are what you perceive as a sandy or gritty texture. The smooth, homogenous emulsion is broken, and the final product is ruined.
To avoid this, you must become an obsessive manager of temperature. The golden rule is to minimize the temperature difference between the components you are folding together. Your melted and cooled chocolate base and your whipped cream should be as close to a cool room temperature as possible before you even think about combining them. A good target for the chocolate base is around 70°F (21°C). If the chocolate is too cold, it will be too viscous to fold; if it’s too hot, it will melt the whipped cream and cause seizing. Precision is not optional here; it is the core of the technique. Using a digital thermometer is non-negotiable for achieving consistent, silky-smooth results.
Your Action Plan: Temperature Control Protocol for Smooth Mousse
- Melt & Cool Chocolate: Melt chocolate completely to approximately 45°C (113°F) to ensure all fat crystals are dissolved, then allow it to cool to a target of 70°F (21°C).
- Keep Cream Cold for Whipping: Keep the heavy cream chilled until the moment you whip it. Cold cream whips faster and creates a more stable foam.
- Equalize Temperatures: Ensure there is no more than a 10°C (18°F) difference between your cooled chocolate base and your whipped cream before folding.
- Sacrifice a Portion: Lighten the chocolate base by vigorously whisking in a small amount (about 1/4) of the whipped cream first. This “sacrificial” portion tempers the chocolate and makes it more receptive to the rest of the cream.
- Seizure Rescue: If your chocolate does seize, gently warm it over a double boiler or add a tablespoon of warm cream while whisking constantly to try and re-emulsify the mixture.
How to Fill Puffs Without Bursting the Shell?
Filling delicate choux pastry shells—like profiteroles or éclairs—with an aerated mousse presents a unique mechanical challenge. The goal is to fill the puff completely without causing the fragile shell to burst or the light mousse structure to be destroyed by excessive pressure. The first key to success is timing. The mousse must be used immediately after it is made, while it is at its most fluid and pliable. As a mousse sits, its gelatin or cocoa butter structure begins to set, making it firmer and much more difficult to pipe. Attempting to force a semi-set mousse through a piping tip will not only destroy its delicate air bubbles but will also require immense pressure that can easily rupture the choux shell.
The second critical factor is the choice of equipment. Counterintuitively, a larger piping tip is far better than a small one. A small nozzle requires a huge amount of force to extrude the mousse, which creates a high-pressure jet that can split the pastry. Furthermore, this shearing force degrades the mousse’s texture. As the experts at world-renowned chocolate maker Callebaut advise, using a piping bag with a large, open hole is essential. This allows the mousse to flow gently and with minimal pressure, preserving its aerated structure and filling the shell evenly without creating damaging stress points. The technique involves inserting the tip, applying gentle and steady pressure until you feel a slight weight increase in the puff, and withdrawing smoothly.

The image above demonstrates the proper technique, showing a wide nozzle being used to apply gentle, controlled pressure. This allows the mousse to fill the cavity completely while preserving both the integrity of the choux shell and the delicate aeration of the filling itself.
How to Encapsulate Liquid Fruit Coulis Inside a Thin Shell?
The technique of encapsulating a liquid center, such as a fruit coulis, within a dessert is a hallmark of advanced pastry work. It creates a delightful textural contrast and a burst of flavor. The primary method for achieving this is through spherification or controlled gelling and freezing. For a liquid center inside a mousse or entremet, the most common approach is to create a firm gel with the coulis, freeze it, and then insert it into the mousse before it sets. The choice of gelling agent is crucial here. Pectin or a small amount of gelatin can be added to the coulis before freezing. This is vital to control syneresis—the weeping of liquid from a gel upon thawing. Without a stabilizer, a plain frozen fruit puree will release water as it thaws, making the surrounding mousse soggy.
For a more dramatic effect, such as a liquid sphere that bursts in the mouth, modernist techniques like basic and reverse spherification are used. These methods rely on the reaction between calcium chloride and a hydrocolloid like sodium alginate to form a thin, gel-like skin around a liquid. In reverse spherification, a liquid containing calcium is submerged in an alginate bath, forming a stable gel membrane that holds the liquid inside. Agar-agar is also a powerful tool for creating heat-stable encapsulated liquids. A liquid set with agar can be gently warmed and will not melt until it reaches a high temperature, allowing it to be embedded in warm components. This technique allows for the creation of complex desserts with surprising liquid cores that remain intact until eaten.
How to Create Clean Layers in Entremets for Perfect Cross-Sections?
A perfect cross-section in an entremet, revealing distinct, razor-sharp layers, is a testament to a pastry chef’s precision and understanding of material science. Achieving this clean separation is a battle against gravity and thermodynamics, won through careful planning and temperature control. The first principle is layering by density. Always place your densest components, such as a dacquoise, crémeux, or dense brownie, at the bottom of the mold. Lighter components, like an aerated mousse, should be layered on top. Reversing this order is a recipe for disaster, as the heavier layer will inevitably compress and bleed into the lighter one.
The second, and most critical, technique is flash freezing each layer. Before adding a new layer, the previous one must be sufficiently frozen to become a solid, stable base. A quick 10-15 minutes in a blast freezer is usually sufficient to set the surface. This prevents the new, liquid layer from mixing with the one below. For extra insurance, some professionals pipe a very thin “dam” of a fast-setting gel (like one made with gellan gum) around the inside perimeter of the mold before pouring the next layer. This creates an invisible barrier that stops any minor leakage. Finally, the fat content of your mousse plays a role in its stability. Food science research indicates that a cream with around 35% fat content provides an optimal balance of flavor and structural integrity for creating stable, stackable mousse layers.
- Place denser layers (crémeux, biscuit) at the bottom, and lighter layers (mousse) on top.
- Freeze each layer for at least 10-15 minutes until firm before adding the next.
- Lightly score the frozen surface of a layer with a fork to provide mechanical grip for the next layer.
- For ultimate sharpness, use acetate cake collars to line your entremet rings for easy unmolding.
- Ensure the entire entremet is frozen solid (minimum 4 hours) before attempting to slice it for the cleanest possible cut.
Key Takeaways
- Temperature is everything: The single biggest factor for a smooth texture is minimizing the temperature difference between your chocolate base and your whipped cream.
- Whip to soft peaks only: Over-whipping cream to stiff peaks creates a brittle foam that will break and deflate when folded into a dense chocolate base, resulting in a heavy mousse.
- Structure dictates texture: The choice of stabilizer (gelatin vs. agar) and the fat content of the cream directly control the final texture, stability, and even the flavor release of the finished product.
Mousse vs. Jelly: How to Stack Textures Without Sliding?
Layering a fat-based component like a chocolate mousse with a water-based component like a fruit jelly is a classic pairing that can easily end in structural failure. The two layers are chemically antagonistic: one is lipophilic (fat-loving) and the other is hydrophilic (water-loving). This natural repulsion means they will not bond on their own; instead, the jelly layer is likely to slide off the mousse layer, especially after slicing. The key to overcoming this is to create a bridge between the two opposing worlds. This bridge can be a physical barrier or a chemical emulsifier.
A physical bridge is the most common and reliable solution. This involves placing a very thin, porous layer between the mousse and the jelly. A thin layer of biscuit (like a joconde), a sprinkle of cocoa powder, or a thin spread of praline can act as a “grip tape,” providing a textured surface for the two layers to adhere to. Another professional technique is to use a “chocolate spray”—a very thin layer of atomized cocoa butter—on the surface of the set mousse. This creates a slightly tacky, fat-based surface that the jelly can bond with more effectively. From a chemical perspective, modifying the jelly’s surface by including an emulsifying agent or a mix of gelling agents (like gelatin and pectin together) can create a “stickier” surface that is more receptive to the fat-based mousse layer.
This table illustrates the fundamental conflict between fat-based and water-based layers and the strategies to bridge their divide.
| Layer Type | Nature | Bonding Method |
|---|---|---|
| Water-based Jelly | Hydrophilic | Requires emulsifying bridge or mechanical grip |
| Fat-based Mousse | Lipophilic | Natural repulsion to water-based layers |
| Bridge Options | Neutral/Porous | Thin chocolate spray, biscuit layer, praline spread |
| Texture Solution | Mixed Gels | Using a gelatin + pectin mix can create a stickier surface |
Frequently Asked Questions About Aerated Fillings and Encapsulation
What temperature does agar need to set for encapsulation?
Agar sets at around 40°C (104°F) and remains stable up to 85°C (185°F), making it ideal for creating heat-stable shells that won’t melt when placed in contact with warm components.
Can you freeze liquid centers without syneresis?
Yes, but it requires a stabilizer. Adding pectin or a small amount of gelatin to a fruit coulis before freezing is essential. These hydrocolloids bind the water and prevent it from weeping out of the gel structure as the center thaws, which would otherwise make the surrounding dessert soggy.
What’s the advantage of reverse spherification?
Reverse spherification creates an exceptionally stable gel membrane around a liquid center that can be stored for longer periods and handled more easily. Unlike basic spherification, the gelling process stops once the sphere is removed from the bath, resulting in a permanent liquid core that provides a dramatic “burst in the mouth” sensation.