The leap from home baking to semi-professional chocolaterie is a shift in mindset, not a collection of new recipes.
- Success in chocolate work is dictated by mastering the scientific principles of temperature, measurement, and crystallization.
- Discipline, exemplified by mise-en-place and weight-based measurements, is non-negotiable for achieving consistent, professional results.
Recommendation: Stop treating chocolate like pastry; start treating it like a science where you control every variable.
Many passionate home bakers dream of making the leap to creating glossy, professional-quality chocolates. You’ve likely mastered complex cakes and delicate pastries, so chocolate seems like the next logical step. The common advice is to “practice tempering” or “buy better ingredients.” While not incorrect, this advice misses the fundamental truth. The transition from amateur to semi-pro is not about what you do, but understanding precisely why you do it. Chocolate is not pastry. It is a less forgiving medium, governed by the strict laws of physics and chemistry.
Where pastry allows for a degree of improvisation, chocolate demands a level of discipline closer to that of a scientist. The difference between a dull, grainy finish and a bar with a sharp, satisfying snap lies in your ability to control variables you may have never considered. It’s about understanding thermal dynamics, crystal structures, and emulsion science. This guide is built on that principle. We will deconstruct the core techniques, not as steps to be memorized, but as principles to be mastered. We will move beyond the “how” and drill down into the “why,” building the rigorous mindset required to produce consistently exceptional results.
For those who prefer a visual format, the following video provides an excellent overview of the fundamental tempering process, which is the cornerstone of much of what we will discuss. It’s a perfect complement to the scientific principles detailed in this guide.
To navigate this journey from enthusiast to disciplined practitioner, we will explore the critical pillars of professional chocolate work. This structured approach will equip you with the knowledge to troubleshoot problems, innovate with confidence, and elevate your craft to a new level.
Table of Contents: A Structured Path to Chocolate Mastery
- Why Mise-en-Place Is More Critical for Chocolate Than Pastry?
- Marble Slab vs. Stainless Steel: Which Surface Tempers Faster?
- How to Convert Volume Measurements to Grams for Consistency?
- The Cooling Error That Causes Dull Spots on Finished Goods
- When to Rush and When to Wait: The Crystallization Timeline
- Why Is Tempering Essential for Snap and Shelf Life?
- Why Does Your Dark Chocolate Ganache Split and Look Oily?
- What Does It Take to Become a Master Chocolatier in 2024?
Why Is Mise-en-Place Is More Critical for Chocolate Than Pastry?
Mise en place is a French culinary term that translates to ‘everything in its place.’ Tempering chocolate requires precision timing, make sure that you are completely set up for the whole process so as not to interrupt it at any point. Interruptions mean temperature fluctuations, and if this happens, you have to scrap the whole process and start all over again.
– Prashantha Lachanna, Chocolatiering.com Guide
In a pastry kitchen, an interruption—a forgotten ingredient or a misplaced tool—is often a recoverable inconvenience. You can hold a dough, chill a cream, or re-whip an egg white. With chocolate, an interruption is catastrophic. The entire process of tempering is a race against time and temperature. You are guiding melted chocolate through a precise temperature curve to encourage the formation of a specific type of cocoa butter crystal. For dark chocolate, professional chocolatiers know that it must be cooled to a window as narrow as 84°F (29°C) during the cooling phase before being gently rewarmed.
A five-second delay while you search for a spatula can cause the temperature to drop too far, forcing you to start over. This is why mise-en-place is a system of control, not just organization. Before you even begin to melt your chocolate, your entire workflow must be established: molds cleaned and ready, spatulas at hand, cooling area prepared, and all additions weighed. Unlike a cake batter that can wait a few minutes, tempered chocolate is a dynamic state. It is actively crystallizing, and any hesitation breaks the chain of control, leading to failed temper, bloom, and wasted product.
The mindset shift is crucial: in pastry, mise-en-place is for efficiency. In chocolaterie, it is for survival. It is the first and most important step in eliminating variables and ensuring a predictable, repeatable outcome. There is no “winging it” in professional chocolate work.
Marble Slab vs. Stainless Steel: Which Surface Tempers Faster?
The classic image of a chocolatier working on a marble slab is not for show; it’s a deliberate choice rooted in physics. When tempering chocolate using the tabling method, the goal is to cool a portion of the melted chocolate rapidly and evenly to initiate the formation of stable crystals. The surface you use for this process has a profound impact on your control and speed. The key difference between marble and stainless steel lies in their thermal properties.
Marble possesses a high thermal mass. This means it can absorb a significant amount of heat energy from the chocolate without its own temperature rising quickly. It acts as a powerful heat sink, pulling warmth from the chocolate efficiently and consistently across the entire mass being worked. This provides a larger window of time for the chocolatier to agitate the chocolate, encouraging uniform crystallization. Stainless steel, by contrast, has a lower thermal mass. It heats up much faster when the warm chocolate is poured onto it, meaning it loses its cooling effectiveness more quickly. It can create “hot spots” and lead to a more frantic, less controlled tempering process.
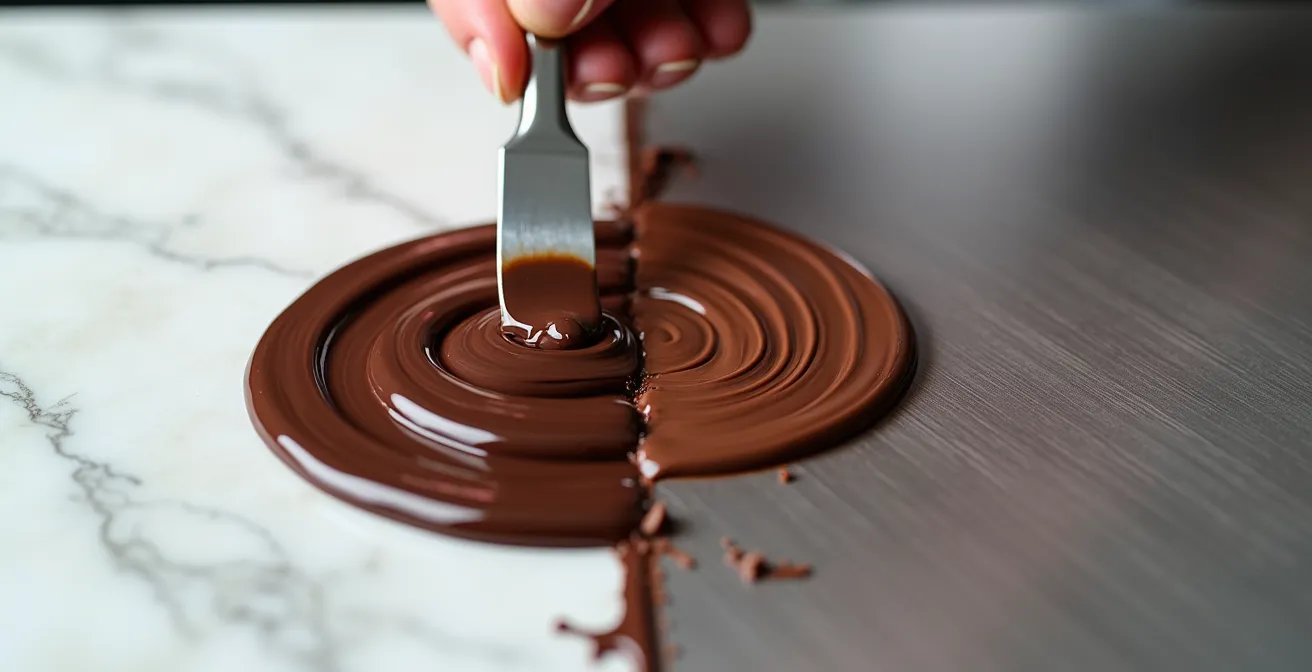
As the visual comparison suggests, marble provides a more stable and forgiving environment for this critical step. While stainless steel is a perfectly acceptable surface for a home kitchen, a dedicated chocolatier understands that marble offers superior thermal control. This control is what allows for the development of a perfectly tempered chocolate with a superior sheen and snap. The choice of surface is a primary tool for managing the thermodynamic reality of crystallization.
How to Convert Volume Measurements to Grams for Consistency?
In baking, measuring by volume (cups, tablespoons) can often yield acceptable results. A little extra flour in a cookie dough is rarely a disaster. In chocolate work, this lack of precision is a recipe for failure. The ratios of fat to solids to sugar are critical for everything from viscosity to the final texture of a ganache. Relying on volume measurements introduces an unacceptable level of variability. For example, precision measurements reveal that 1 cup of chocolate chips can vary from 175 to 200 grams depending on their size, shape, and how they are packed.
This 25-gram variance can completely alter the behavior of your chocolate. It is the difference between a fluid, workable coating and a thick, sluggish mass that is difficult to mold. The transition to semi-professional work demands a complete and total switch to weight-based measurements. A digital scale is the most important tool you will own after your thermometer. It eliminates all ambiguity. 175 grams is always 175 grams.
This discipline extends to every ingredient. Liquids, powders, and solids must all be weighed. This ensures that your formulas are repeatable. If a ganache splits, you can analyze your ratio of 100g of cream to 150g of chocolate and adjust it scientifically, rather than guessing if you used a “heaping cup” or a “level cup.” The following table illustrates just how inconsistent volume measurements can be for different forms of chocolate.
| Chocolate Type | 1 Cup Volume | Weight in Grams | Weight in Ounces |
|---|---|---|---|
| Chocolate Chips (standard) | 1 cup | 175g | 6.2oz |
| Chopped Chocolate (medium) | 1 cup | 160-180g | 5.6-6.3oz |
| Mini Chocolate Chips | 1 cup | 160-170g | 5.6-6oz |
| Grated Chocolate | 1 cup | 139g | 4.7oz |
| Cocoa Powder | 1 cup | 100g | 3.5oz |
The Cooling Error That Causes Dull Spots on Finished Goods
You’ve done everything right: perfect temper, flawless molding. Yet, your finished chocolates emerge from the molds with dull spots or a hazy, white film. This devastating flaw is almost always a result of improper cooling. The two main culprits are fat bloom and sugar bloom, and both are caused by environmental mismanagement during the crucial setting phase.
Fat bloom occurs when the chocolate is exposed to temperature fluctuations. If the cooling environment is too warm, or if the chocolate is moved between different temperatures, the cocoa butter crystals can re-form into unstable structures. These larger, disorganized crystals migrate to the surface, creating greasy streaks and a soft, crumbly texture. The perfect temper is destroyed.
Sugar bloom, on the other hand, is a moisture problem. If you place your freshly molded chocolates into a refrigerator that is too humid, condensation will form on the surface. The water dissolves some of the sugar in the chocolate. As the water evaporates, the sugar recrystallizes on the surface, leaving a dry, dusty, and grainy white coating. It’s an irreversible textural flaw. Professional storage guidelines indicate that relative humidity must remain below 55% to prevent this. The ideal setting environment is a cool, dry place, around 60-65°F (15-18°C), like a wine cooler—not a standard food refrigerator, which is often too cold and humid.
Action Plan: Diagnosing Chocolate Bloom
- Visual Inspection: Check for uniform dullness across the entire surface. This often indicates a fundamental problem with the initial tempering curve.
- Pattern Analysis: Look for streaky, greasy patterns. These are the classic sign of fat bloom, caused by poor storage or temperature shocks.
- Spot Identification: Identify grainy, dusty, or spotty white patches. This almost certainly confirms sugar bloom from exposure to humidity.
- The Touch Test: Gently touch the surface. Sugar bloom feels dry, rough, and sandy. Fat bloom will feel slick or greasy and will melt to the touch.
- The Water Droplet Test: Place a tiny droplet of water on the bloom. It will bead up and sit on the surface of fat bloom but will spread and be absorbed by the grainy texture of sugar bloom.
When to Rush and When to Wait: The Crystallization Timeline
In chocolate work, patience is a technical skill. The process of crystallization—the formation of stable cocoa butter crystals that gives tempered chocolate its structure—happens on a microscopic level and on its own timeline. Rushing this process leads to failure, while waiting too long can be just as problematic. Understanding this timeline is key to developing an intuitive feel for the material.
After you have brought your chocolate through its temperature curve, you must perform a “temper test.” Dip a spatula or a small piece of parchment paper into the chocolate and set it aside at a cool room temperature (around 68°F/20°C). As the experts at King Arthur Baking note, “If the chocolate is properly in temper, it will set within 3 to 5 minutes.” This test is your confirmation that you have successfully created enough stable “seed” crystals (Form V) to proceed. If it takes longer than five minutes, or if it sets with streaks, your temper has failed, and you must start again. There is no shortcut here; you must wait for the test to confirm success.
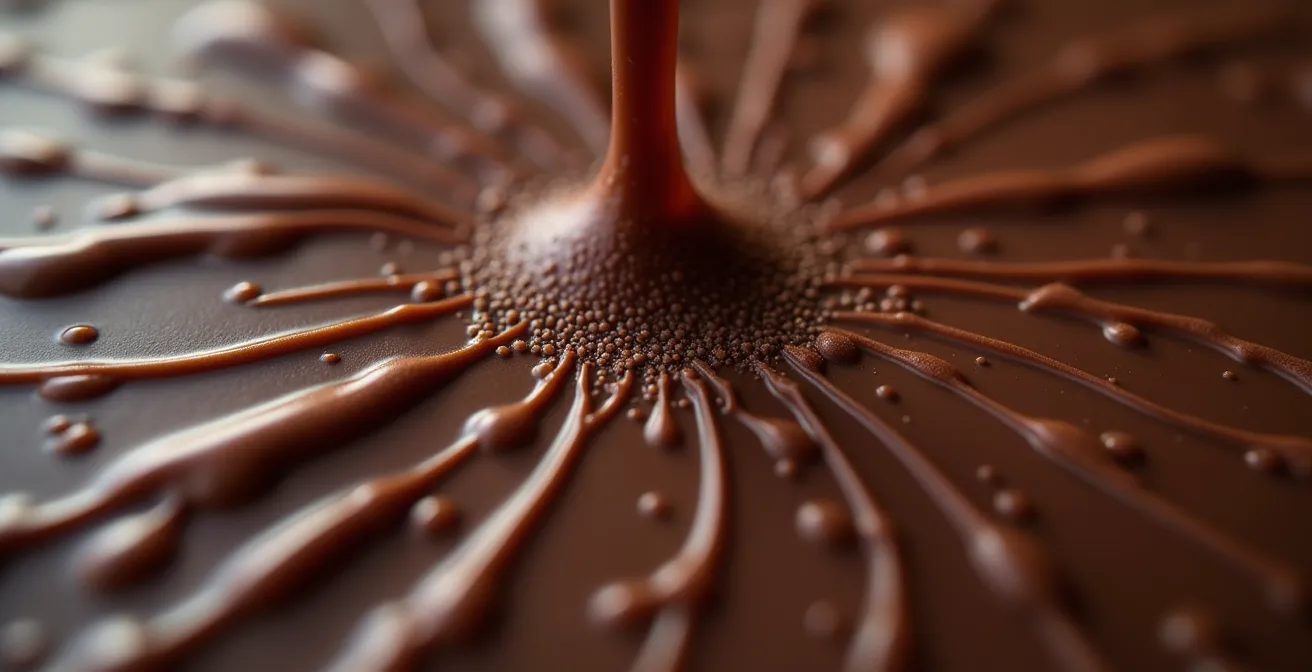
Conversely, once your chocolate is in temper, the clock is ticking. You are holding a liquid in a delicate state of suspended crystallization. You must work efficiently to mold or enrobe your products before the chocolate becomes too thick and unworkable. A common mistake for beginners is to rush the initial cooling phase, but a professional knows that it’s crucial to hold the chocolate at its working temperature for several minutes, stirring gently. This waiting period allows the Form V crystals to multiply and distribute evenly throughout the mass, ensuring a strong and uniform temper. It’s a delicate balance: waiting patiently for the crystals to form, then working with controlled urgency before they take over completely.
Why Is Tempering Essential for Snap and Shelf Life?
Tempering is the single most important technical skill in chocolaterie. It is the process that defines the final quality of any solid chocolate product. But why is it so essential? The answer lies in the molecular structure of cocoa butter. Cocoa butter is polymorphic, meaning it can solidify into six different crystalline forms, labeled I through VI. Only one of these forms, Form V (or Beta V), is desirable.
Form V crystals are small, stable, and tightly packed. This dense structure is what gives well-tempered chocolate its signature qualities:
- Glossy Finish: The flat, uniform surface of Form V crystals reflects light evenly, creating a beautiful sheen.
- Sharp Snap: The tight crystal structure makes the chocolate brittle and firm, so it breaks with a clean, satisfying snap.
- Smooth Mouthfeel: It melts smoothly and cleanly on the tongue, right around body temperature.
- Shrinkage: As the chocolate cools and the crystals form, the mass contracts slightly, which is essential for easily releasing chocolates from their molds.
Most importantly, Form V is the most stable crystal. Chocolate left to cool on its own will form a chaotic mix of unstable crystals (Forms I-IV), resulting in a dull, soft, and blotchy product that melts on your fingers. This is also the cause of fat bloom. By forcing the formation of Form V crystals, scientific tempering data shows that you must maintain a precise temperature, as Form V crystals develop at 88°F to 90°F for dark chocolate. This stability dramatically increases the shelf life of the chocolate, preventing it from blooming and losing its texture over time.
Why Does Your Dark Chocolate Ganache Split and Look Oily?
A split ganache—a greasy, separated mess instead of a silky, homogenous emulsion—is a common and frustrating problem. The cause is almost always an imbalance in the ratio of fat to water. A ganache is an emulsion: a stable mixture of two liquids that don’t normally mix, in this case, the fat from the cocoa butter and the water from the cream. When the balance is off, or the mixture is subjected to temperature shock, the emulsion breaks.
The primary cause of a split dark chocolate ganache is too much fat or not enough liquid. This can happen if you use a chocolate with a very high cocoa butter percentage without adjusting your cream, or if your cream reduces too much during heating, concentrating the fat. Another common mistake is adding liquid improperly. Even a tiny drop of water can cause chocolate to “seize,” where the sugar and cocoa solids clump together, squeezing out the fat. This creates a grainy, oily paste.
Temperature is also critical. If the chocolate gets too hot (above 120°F/49°C for dark chocolate), the cocoa butter can separate out. Similarly, if your cream is too cold when added to the melted chocolate, the thermal shock can cause the fat to solidify rapidly and separate from the mixture. The key is to bring both components together at a warm, harmonious temperature, typically around 90-110°F (32-43°C).
Counterintuitively, the way to fix a split ganache is often to add more liquid. By warming the ganache gently over a double boiler and vigorously whisking in a small amount of warm cream or milk (a teaspoon at a time), you can often coax the mixture back into a stable emulsion. This adds the necessary water to re-balance the ratio and allow the fats to be re-incorporated.
Key Takeaways
- Chocolate work is a science of control; mastering temperature, measurement, and timing is non-negotiable.
- Precision is paramount. Transition from volume (cups) to weight (grams) for all ingredients to ensure repeatability.
- Tempering is the foundational skill, dictating the chocolate’s final snap, shine, and shelf life by controlling crystal formation.
Embodying the Master Chocolatier’s Mindset in 2024
What does it truly take to move beyond being a proficient home baker and become a semi-professional chocolatier? The journey is less about acquiring a vast repertoire of recipes and more about embodying a mindset of unwavering discipline and scientific curiosity. It’s the path taken by people like Alexandra Whisnant, who left a career in finance to pursue the fine art of chocolate, understanding that passion must be paired with rigorous technique.
The modern chocolatier leverages both tradition and technology to achieve this. While the principles of tempering remain timeless, today’s professionals use tools to eliminate variables. Tempering machines are not a “cheat”; they are a tool for absolute consistency. They ensure repeatable results, which, as industry experts note, is the key to building a reputation for quality. By integrating tools that provide this level of control, you elevate your craft from an art to a science.
This means treating every batch as a data set. Log your temperatures, weights, and timings. When a batch fails, you don’t just throw it out; you analyze the data to understand why. Was the humidity too high? Did the temperature drop by one degree too many? This analytical approach is what separates the hobbyist from the emerging professional. Your goal is not to make one perfect batch of bonbons, but to build a system that allows you to make a perfect batch every single time.
Your journey to becoming a semi-pro chocolatier starts not with the next recipe, but with a firm commitment to mastering these fundamental principles. Begin your structured practice today by focusing on control, precision, and a deep understanding of the science behind the craft.
Frequently Asked Questions on Ganache and Tempering
Why does chocolate seize when water is added?
According to professional sources like Ghirardelli, even a single drop of water or other liquid can cause chocolate to ‘seize’. This happens because the sugar and cocoa particles in the chocolate are hydrophilic (water-attracting). They clump together around the water, separating from the cocoa butter and forming a thick, grainy paste.
How can I prevent ganache from splitting?
The key to preventing a split ganache is maintaining a stable emulsion. If your recipe includes a liquid like butter, water, or liqueur, you should always melt it alongside the chocolate or ensure it is at a similar warm temperature before combining. Avoid adding cold liquids to hot chocolate, as the thermal shock can break the emulsion.
What temperature should I avoid exceeding when working with chocolate?
Chocolate is extremely sensitive to high heat. As a rule, you should never heat bittersweet or semisweet chocolate above 120°F (49°C). For milk chocolate or white chocolate, which have more milk solids and are even more delicate, you must avoid heating them above 110°F (43°C) to prevent scorching and separation.